There are situations, where video files will not work as expected within VideoStudio. If you have contacted Technical Support, we may suggest to ‘remux’ your clips, to strip the excess metadata from your video files, and allow them to be usable within your editor.
Due to the myriad number of devices on the market, most of them, encode their video clips, a certain way to specify a different amount information, proprietary to their viewer / catalogue applications. These extra entries, could be additional, but blank audio streams, time code information, etc. This extra data cannot be easily read by VideoStudio at this time.
This document will assist in understanding how to effectively use Recode to your advantage.
NOTE: As this is a third party program, Corel offers no support, past this document. Any difficulties beyond this document, you will need to reach out to XMedia (E-Mail: mailto:info@xmedia-recode.de) for further assistance.
Acquire the software
Download the installation from the following link:
http://www.xmedia-recode.de/download/XMediaRecode3501_x64_setup.exe
Add Video Files
To add video files to encode, click 'Open File' in the toolbar. You can select and add multiple files at once.
You can also drag and drop files into the program. You cannot drag in folders, however.
Highlighting Files
This is one of the quirks of the program which makes it slightly confusing to use and is important to remember when using it.
When editing the output properties of the videos, only the files selected / highlighted in the list are being edited.
- If you want to edit the properties of all of the videos at once, you must highlight all of the videos in the list.
- If you want to edit the properties of just one video, only select that one video.
- You can select and highlight any videos you want to edit the properties of just those videos.
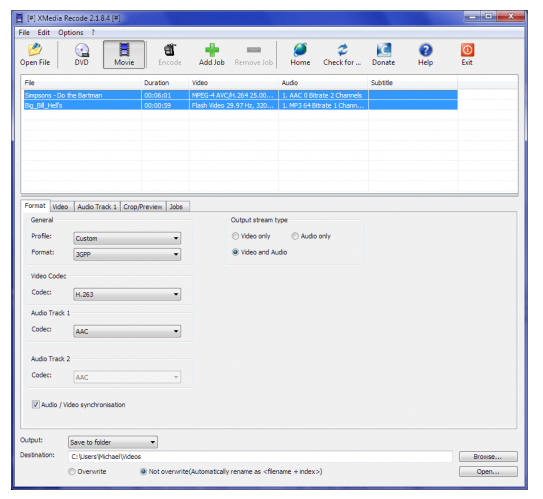
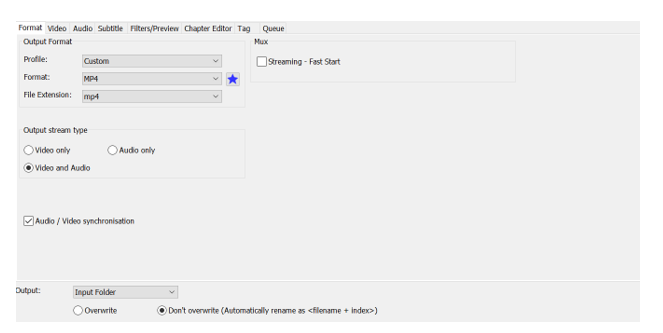
Format Tab
The format tab allows you to choose the container type (AVI, MKV, MP4, etc.) and the video and audio codecs (H.264, XVID, AAC, MP3, etc). There are also several presets available for devices available from various manufacturers.
For this guide, I'm going to be using the 'Custom' setting so I can cover most of the features available. The GUI automatically hides settings which are incompatible or irrelevant to the current device, container, or codec.
For this example,we’re using MP4 as the container format, MPEG-4 AVC/H.264 as the video codec and AAC as the audio codec.
XMedia Recode supports two audio tracks. You can choose a different codec format for each audio track if you wish.
If you want to remove the video or audio stream, you can select Video only or Audio only to the right.
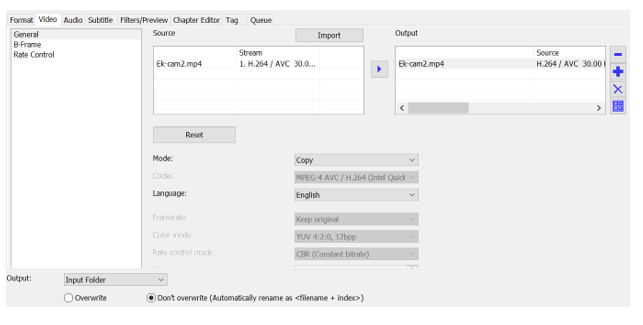
Video Tab
The video tab allows you to edit several settings. You can adjust some basic settings like Bitrate and framerate, or more advanced settings like B-Frames and Quantizers. To speed things up, the only setting you need to change will be the one labeled Mode.
By default, this is set to convert. As we do not want to change any of the formatting of the original clip, click the drop down and select Copy.
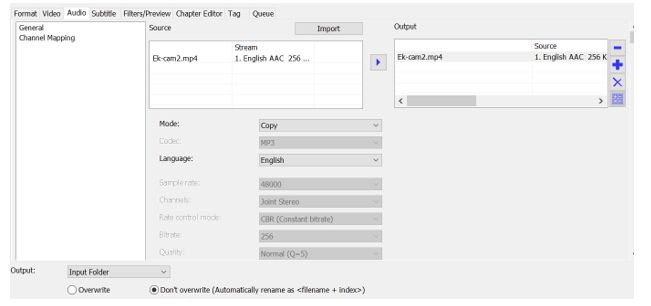
Audio Track Tab
XMedia Recode supports two audio tracks. There are two tabs so you can configure each audio track individually.
If the original video(s) only have one audio track, you can simply ignore the Audio Track 2 tab.
The first setting, Audio track, lets you choose which audio stream to use from the original video.
You can choose different languages for each track, if for example your video has English and Spanish audio tracks.
There are two methods for choosing bitrate or quality;
- Average Bitrate
- Constant Quantizer
You can adjust the volume of the audio tracks using two different methods:
- Volume change, which adjusts the volume to a certain percentage.
- Volume normalization, which sets the audio to a fixed volume.
For the sake of expediency, as you did on the Video tab, under Mode, select Copy.
Encode Video
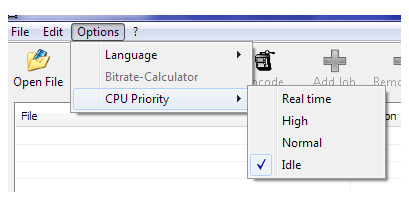
You’re almost done. Before encoding, you can change the process priority from the file menu. It's in the file menu under Options >> CPU Priority.
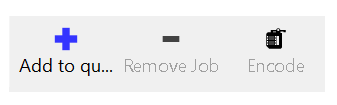
Once you have everything you want in the jobs list, simply click the Add to Queue button, then the Encode button, on the toolbar.
The main window disappears so it does not hog your screen. Then a simple progress dialog appears to show you the progress of the conversion.
The percentage and time remaining are not very accurate. Each video is given an equal percentage. I encoded two videos, so each video is 50% of the progress.

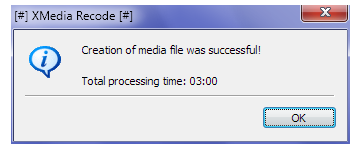
When the job is complete, a popup will appear to notify you.
Was this article helpful?
Tell us how we can improve it.