Welcome to this tutorial on importing video files into VideoStudio.
The first leg of your editing journey is importing, so let's go over some of the tips and tricks that make the trip easier.
So you shot video footage to your camcorder, camera, or smartphone as you tour-bussed around San Francisco. The first step is to plug the device to your computer and follow the instructions provided with that device for transferring files.
In this example, I'm going to be taking footage I shot with my camera. To do this, I have plugged my smartphone to the computer, Windows will detect the device and allow me to open the folder and view the files.
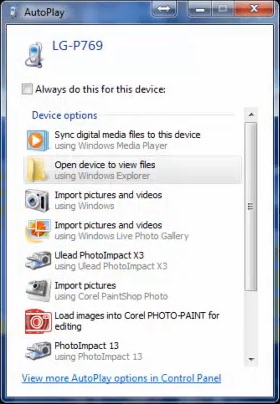
If it's your first time connecting the device to your computer, you will likely be prompted that Windows is installing the drivers before you will see this menu. (on screen menu "what do you want to do...")
Copy the files from the camera to the computer. In this example, I'll create a folder called "Video Project" and copy the video files to this folder.
When the files have finished copying, you can eject and disconnect the device.
You now have your footage on your computer. Most of your video footage taken these days is stored on devices in the form of video files called Mpegs, Mpeg 4's, AVI's and MOV's. There are many more, but these four should serve most purposes.
With these files on-hand, you can launch VideoStudio.
VideoStudio launches in the Edit work space as a default, which features an organizing bin, called the clip bin, for your footage.
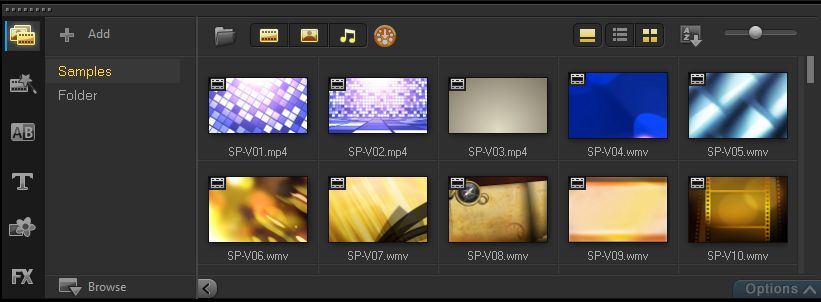
So fetch your files by clicking on the Folder icon and browsing to the file location.
Switch to the Capture work space if you're bringing in video from a DVD, or webcam. This is also the area of the program for creating a stop motion video or a screen capture, but we'll go into those in further detail in later tutorials.

Now, if you have a webcam or video camera connected to the computer and turned on, the Capture Video button will allow you to record directly into VideoStudio from one of these devices.
Similarly, Import Digital Media can be used either to capture from a Non-copy protected DVD or Blu Ray disc or from a Video TS folder; that's a folder on a DVD with the video files. Remember: when you import from a DVD you can choose to import the entire thing or select specific chapters.

Over here, DV Quick Scan imports video from Mini DV cameras.
So we've arrived at our destination. With your files imported, they'll appear in VideoStudio and you will be able to start editing in the Edit work space

If you have enjoyed this tutorial, be sure to check out the other tutorials that are available in the Discovery Center. If you have any ideas for tutorials or projects that you would like to see in the future, please leave us some Feedback.
Was this article helpful?
Tell us how we can improve it.