By Cliff Cramp
Website: www.cliffcramp.com
Bio: http://cliffcramp.com/Bio.html
Equipment
On Location: iBook®, Intuos®3 (hardware), Corel® Painter® 12 (software)
Home Studio: iMac® 27”, Intuos®4 (hardware), Corel Painter 12 (software)
Time: 2 hours
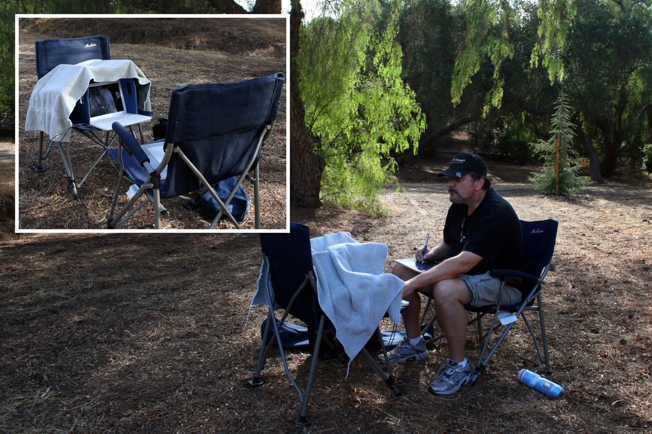
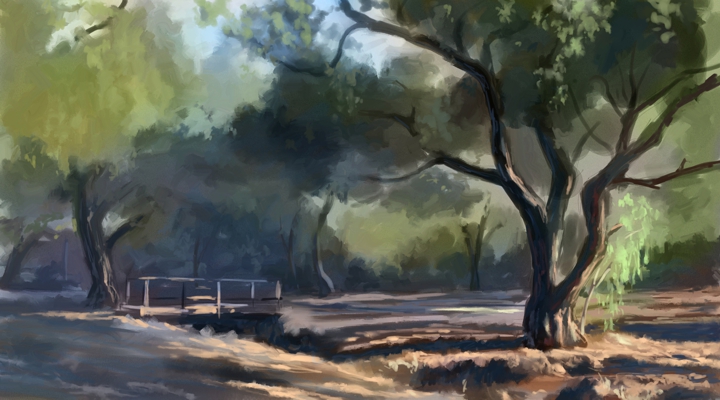
The good folks at Corel® proposed a challenge: create a painting on location ‘en plein air'. My illustration assignment work is always in studio, most often using digital media. My plein air paintings are always traditional oil. I thought the challenge would prove enjoyable, so after putting together a makeshift outdoor setup, I headed out into the landscape to one of my favorite walking trails.
Unlike most digital painters, I usually paint on one layer. When I do use layers, it's for adding effects and making adjustments, after which, I drop the layer and continue to paint. My painting process is pretty straightforward: value study using shapes, color glazing, creating form, and then adding detail.
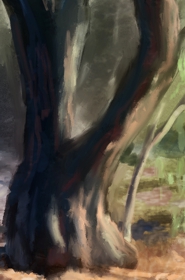
The start of the painting is a value study using a Digital Watercolor brush, specifically the Simple Water variant, with Wet Fringe set to 0%.
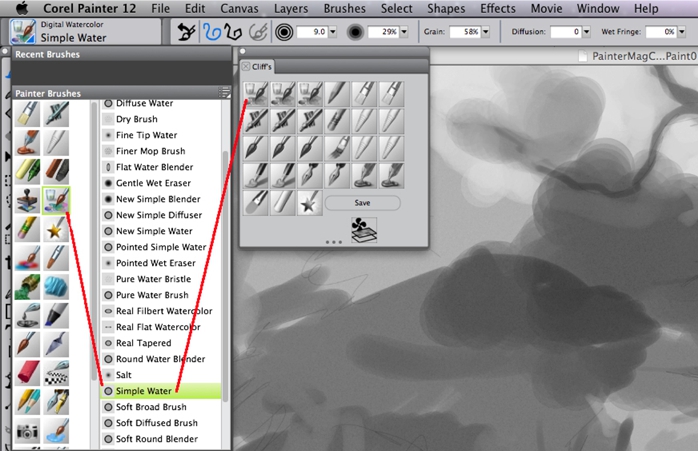
This early stage sets the composition: depth, lights, and darks while using simple shapes and just a few values. I fill the entire canvas with a 30% gray by using the Paint Bucket tool, and then create my shapes using lighter and darker values. I don't dry the Digital Watercolor until the value underpainting is where I want it. This stage is extremely quick, taking only a few minutes. If I'm not happy with it, I trash it and create another value comp. That way, I don't waste a lot of time on a bad composition.
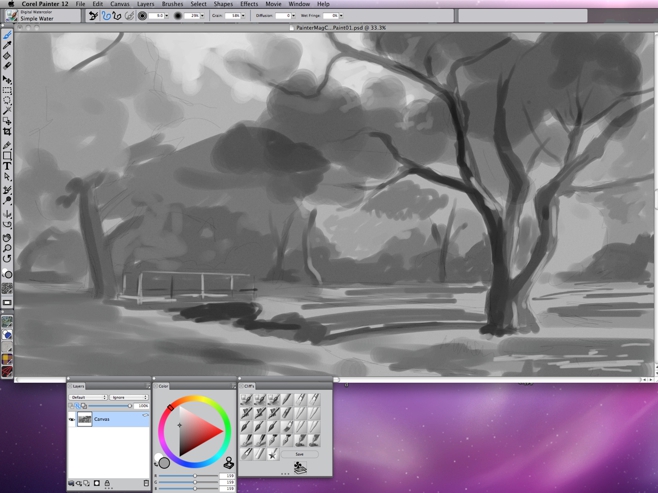
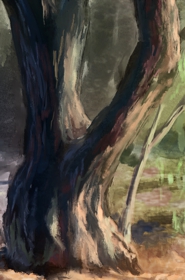
Next, I dry the Digital Watercolor value study by clicking Layers menu > Dry Digital Watercolor. Then, I quickly glaze in color with the same Simple Water variant of the Digital Watercolor brush category. I use Digital Watercolor during these first few stages because I can paint both light to dark and dark to light. The color block-in is very basic. I'm just adding local color over the dried value study. This stage takes only a few minutes more.
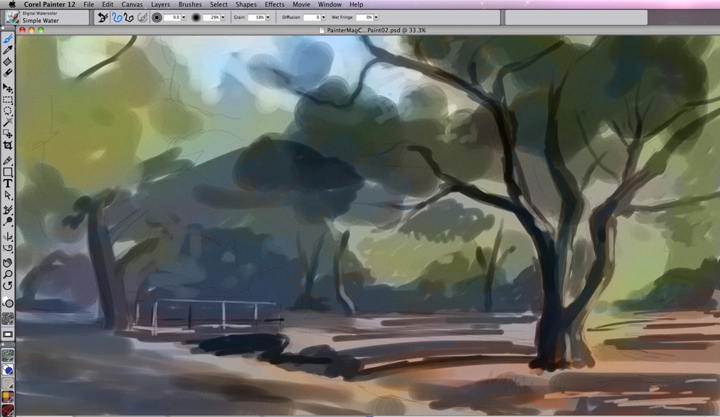
Once the value study and the initial color glaze stages are done, I determine once again if the painting is suitable for going forward. If it's not, I'm only 15 to 20 minutes into the painting and not much time is lost. Before switching to an opaque paint, I make sure the Digital Watercolor is dry. Then I choose the Acrylics brush category and the Wet Acrylic variant. The goal at this point is to develop form and temperature of light and shadow. I consider contrasts throughout this stage of the painting — light side versus dark side, warm side versus cool side, hard edge versus soft edge, saturation versus desaturation, etc.
I have about 200 photo textures that I keep in a file to use them for painting. I use them randomly, not specific to any particular object. For example, I do not use wood grain for wood surfaces.
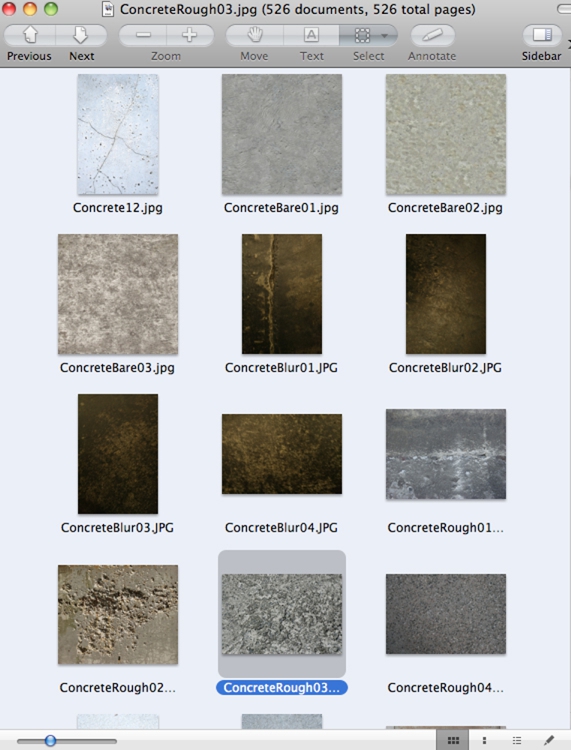
I chose rough concrete for random texture of leaves and another concrete texture for random patches of texture on the ground plane.
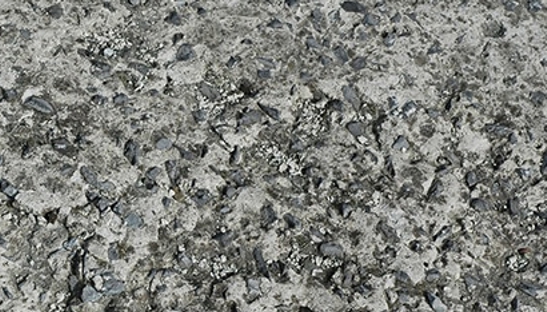
This photo-bashing technique is used to create random texture.
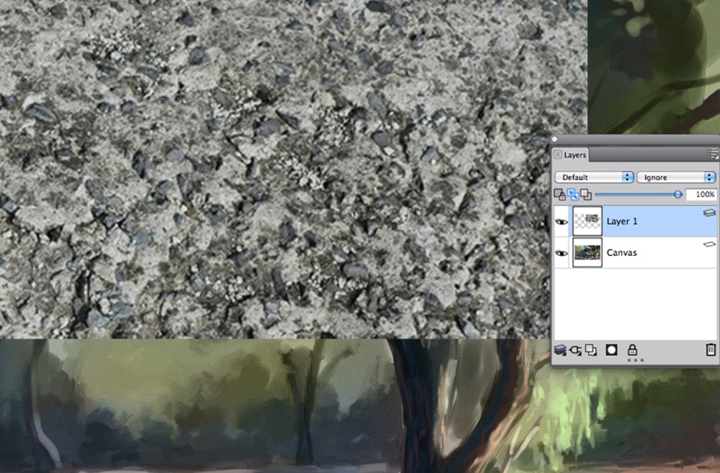
I set the layer's Composite Method to Soft Light and play with Opacity to create the desired effect.
The goal is to make it look like paint.
Here is how it looks over the entire painting.
At this point, I packed up my gear and headed back to my indoor studio. I was able to capture the evening light, which was fading fast, so I thought I could finish up the final details at home.
The composition is set; the values (dark sides versus warm sides) are set; the color (warm side versus cool side) is set; and the form is set. Now I'm onto the finishing detail. I use a variety of brushes with the default settings to finish the painting: Acrylic > Wet Acrylic variant, Oils > Detail Oils Brush variant, Artists > Sargent Brush variant, and Blenders > Water Rake variant.
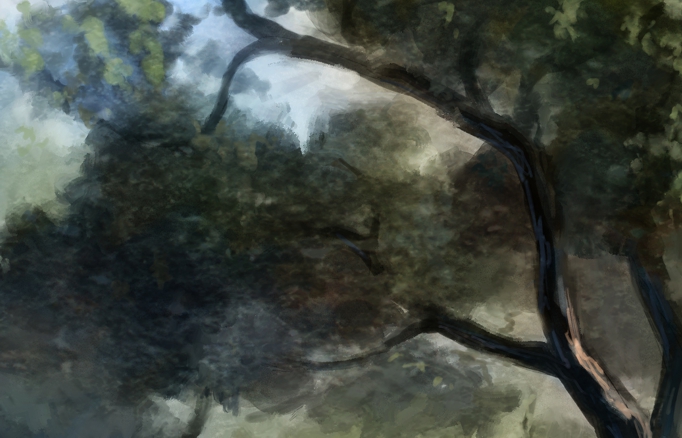
I first paint a lot of the detail with the Wet Acrylic brush.
Then I brush over it with the Water Rake.
The next step is to do a little brushwork with the Sargent Brush followed by more blending with the Water Rake. Then I continue to work over the rest of the painting in this manner.
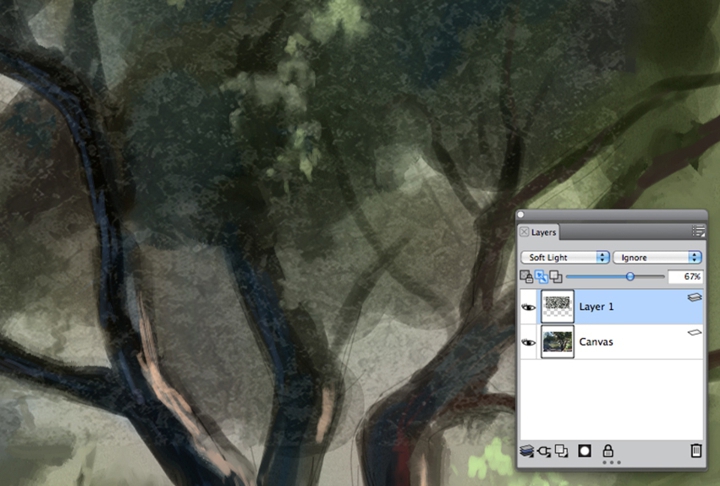
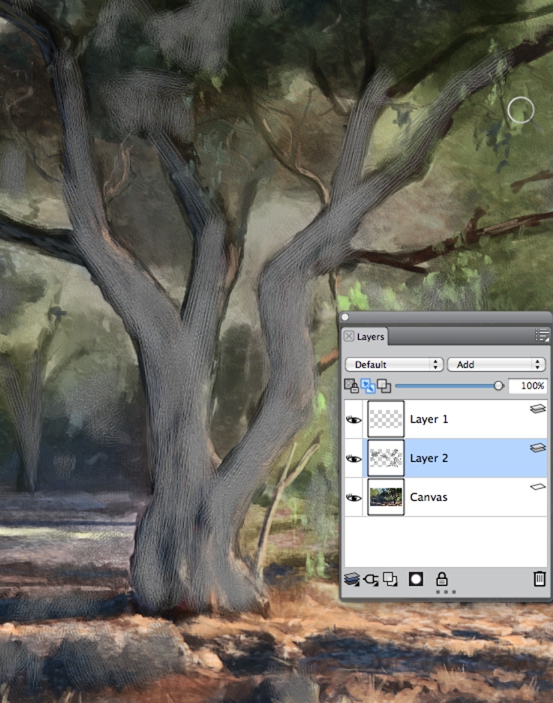
This next step is fun. First, I create a new layer by pressing Command + Shift + N (Mac OS®) or Ctrl + Shift + N (Windows®). This lets me paint in grayscale with the Thick Acrylic Round brush variant. You could use any of the thick media brush categories for this step. I create strokes that follow the direction of the trunks of the trees, leaves, rocks, and earth.
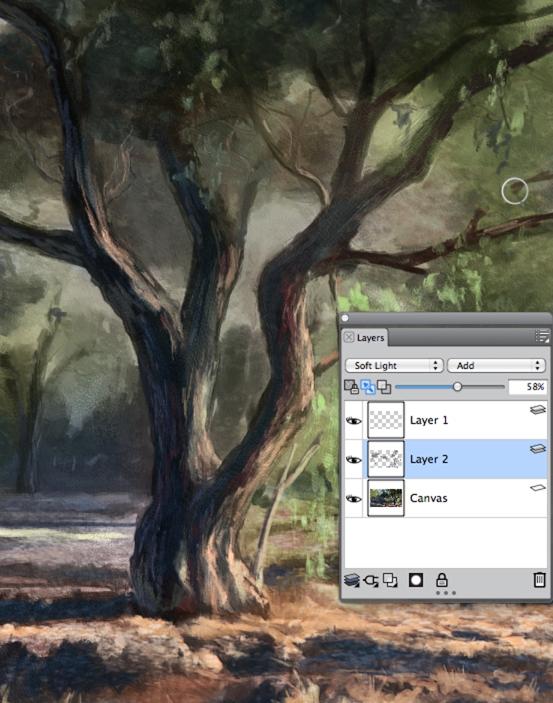
Once I have developed the desired texture, I change the layer's Composite Method to Soft Light. This adds even more brush texture. I also reduce the Opacity of the layer until I get the desired effect.
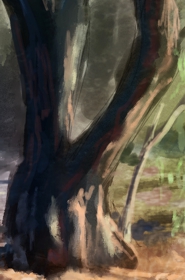
At this point, the painting has taken under two hours. I go through it one last time in order to clean up any glaring problems. I usually clean it up by blending with the Water Rake. I also use the Blenders > Just Add Water variant to soften the shadow sides just a bit. While I go through the painting, I'm constantly thinking about light side versus dark side, warm side versus cool side, hard edge versus soft edge, saturation versus desaturation, detail versus suggestion, and detail in the focal point.
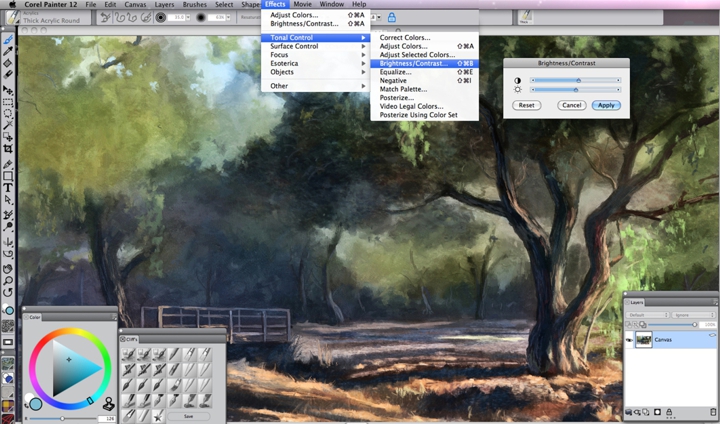
When I feel that the painting is finished, I do one last thing. I adjust the values in Effects > Tonal Control >Brightness/Contrast.
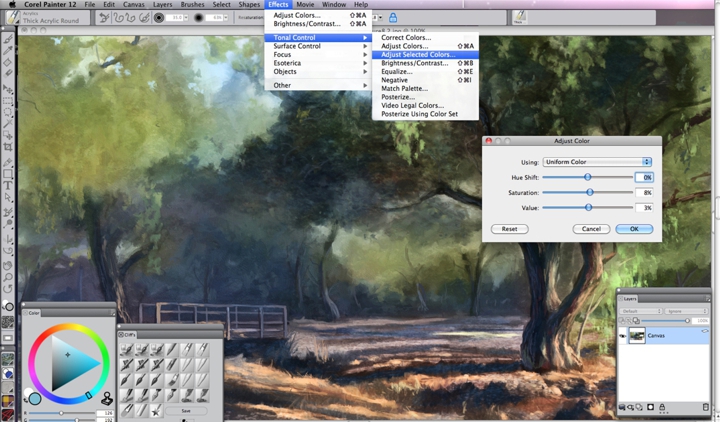
I also check the hue saturation. If it needs moderate adjusting, I take care of it by clicking Effects > Tonal Control > Adjust Colors.
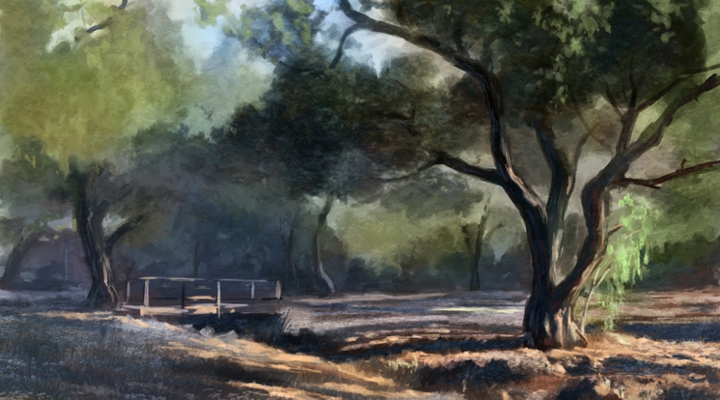
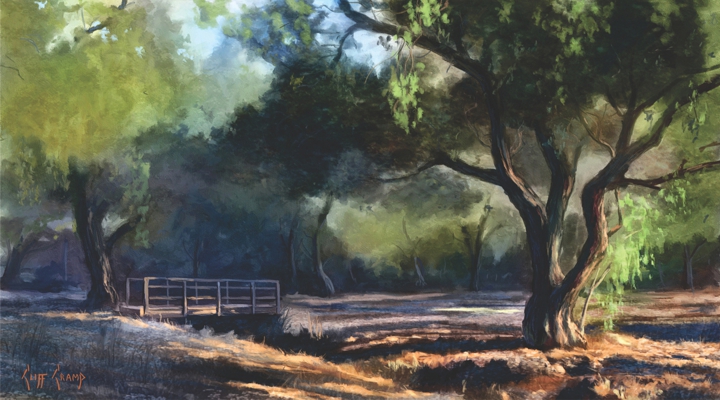
And finally, here's my finished plein air painting.
Was this article helpful?
Tell us how we can improve it.