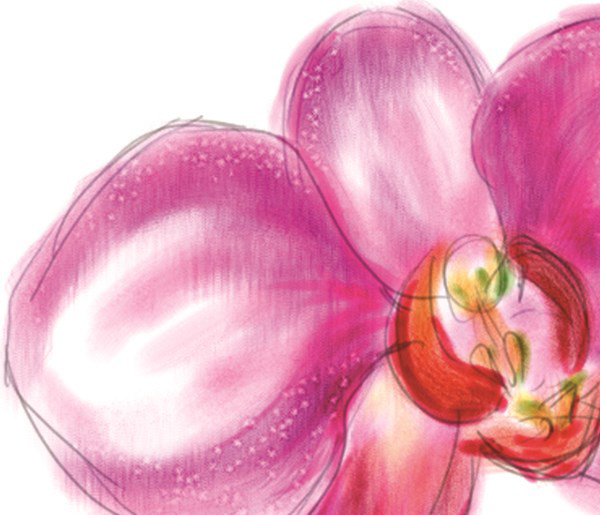
Pink Orchid by Cher Pendarvis
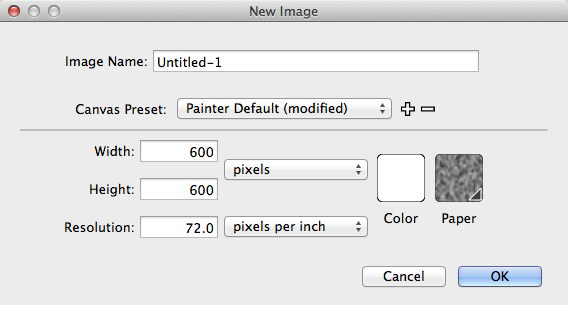
The New dialog box set up

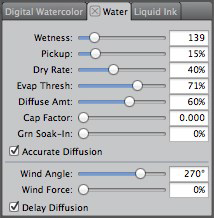
Choosing a blue in the Color panel
2. Choosing brushes and making practice strokes. First, explore two default Watercolor brushes to see the different strokes they paint. When you touch a Watercolor brush to the image, a Watercolor media layer appears in the Layers panel to hold the paint. Choose the Soft Wash variant of Watercolor in the Brush Selector Bar. Before painting—for the best quality—enable Accurate Diffusion. Choose Window > Brush Control Panels > Water, and enable the Accurate Diffusion checkbox. Now make a practice stroke.
The Water panel showing settings for the Soft Bristle. Accurate Diffusion is enabled.
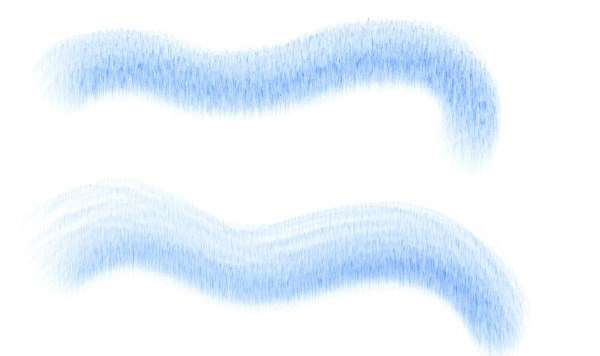
Next, choose the Runny Wash Bristle variant of Watercolor. As you did above for the best quality brushstrokes, enable Accurate Diffusion. ChooseWindow > Brush Control Panels > Water, and enable the Accurate Diffusion checkbox. Now make a practice stroke with this brush. While still a watery brush, Soft Bristle has less Wetness, and shows some of the bristle hair marks from the brush. The Runny Wash Bristle is a wetter brush with a higher Wetness value.
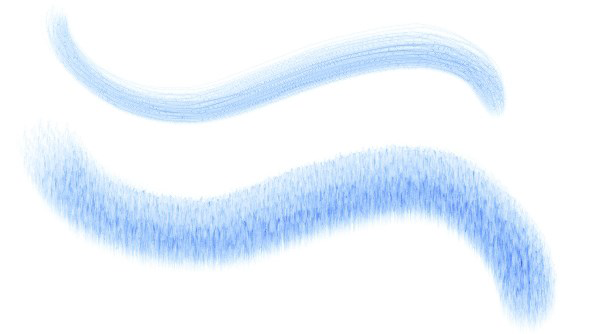
Two practice strokes, the Soft Bristle (top) and the Runny Wash Bristle (bottom)
3. Experimenting with Wind Force. As you can see in the Water panel for the Soft Bristle brush, Wind Force is not enabled for the Soft Bristle variant. Choose the Runny Wash Bristle, and take a look at the Water panel settings. The Wind Angle is set to 270° and the Wind Force is set to 23%. The Wind Force causes the pigment to move on the Watercolor layer. The default Wind Angle of 270° lets the paint run down the image.
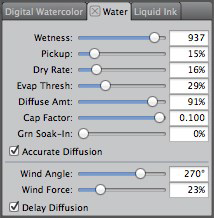
For the default Runny Wash Bristle, Wind Force is set to 23%, which causes the pigment to move on the Watercolor layer
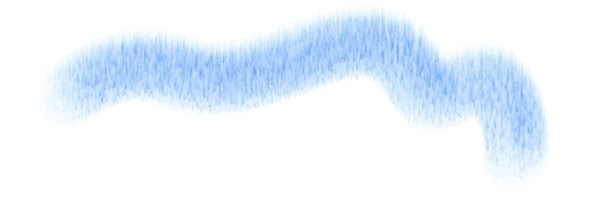
Now, increase the Wind Force to at least 80% (I set the slider to 81%.) Make another brush stroke, and notice how the paint spreads out farther. The spread of the paint is also affected by the tilt on your stylus as you paint. The stroke will be a bit narrower if you hold the stylus upright.
Stroke painted with the default Runny Wash Bristle (top) and stroke painted with the Runny Wash Bristle with increased Wind Force applied (bottom)
4. Experimenting with Wind Angle. The Wind Angle determines the direction that the paint will flow on the Watercolor layer. The default angle is 270° which causes the paint to flow down. In the Water panel, set the Wind Angle to 90°. Make a practice stroke. You will see the paint flow up the image, rather than down, as it did at 270°. Continue to experiment with the Wind Force and Wind Angle.
Stroke painted with the Runny Wash Bristle with Wind Direction set to 90°
Happy painting!

Was this article helpful?
Tell us how we can improve it.