Corel® Painter® Watercolor washes, smooth and textured.
By Cher Pendarvis
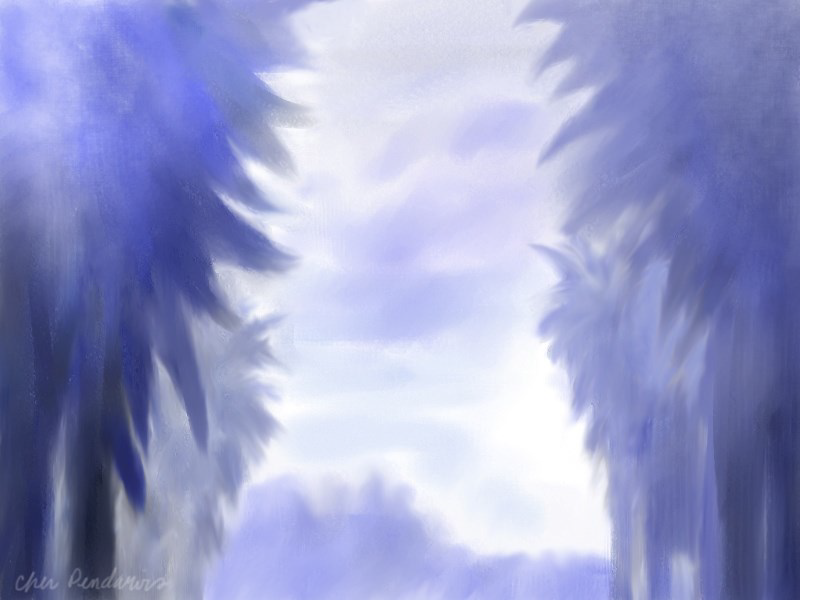
Palm Value Sketch by Cher Pendarvis
Painter offers three kinds of watercolor paint media: Digital Watercolor, Watercolor and Real Watercolor. Each is rich and useful. This tip focuses on Real Watercolor. With Painter’s Real Watercolor brushes you can paint a variety of transparent paint effects, from smooth washes to wet-into-wet textured strokes, and more, as shown in my Palm Value Sketch, above. In this tip we will explore painting transparent washes.
1. Setting up. Begin by opening a new file. Choose File > New, and in the New dialog box, set up a file that measures 600 x 600 pixels. Next, choose a rich, deep blue color in the Color panel. A deeper color will allow you to see more nuances of the smooth washes and textures, as you get acquainted with painting washes. If the Color panel is not open, choose Window, Color Panels, Color to open it, and then click the Hue ring and Saturation/Value triangle to choose a color.
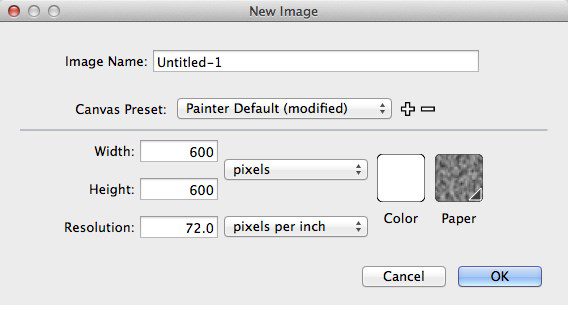
The New dialog box set up
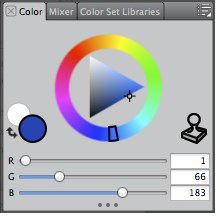
Choosing a deep blue in the Color panel
2. Choosing brushes and making practice strokes. First, explore two default Real Watercolor brushes to see the different strokes they paint. When you touch a Real Watercolor brush to the image, a Watercolor media layer appears in the Layers panel to hold the paint. Choose the Real Oval Wash variant of Real Watercolor in the Brush Selector Bar. Before painting—for the best quality—make sure that Accurate Diffusion is enabled. Choose Window > Brush Control Panels > Real Watercolor, and enable the Accurate Diffusion checkbox. Now make a practice stroke. This is an oval brush, which responds to the tilt and bearing of the stylus as well as the pressure that you apply. You will notice thick to thin nuances in the stroke as you paint. Now paint an area of smooth wash. Paint a vertical stroke starting at the top and pulling down. Quickly (while the paint is till percolating) paint another stroke slightly overlapping the first stroke. Quickly paint a third stroke in the same manner, slightly overlapping the second. For the tone to appear even, the strokes must be overlaid while the paint is still percolating.
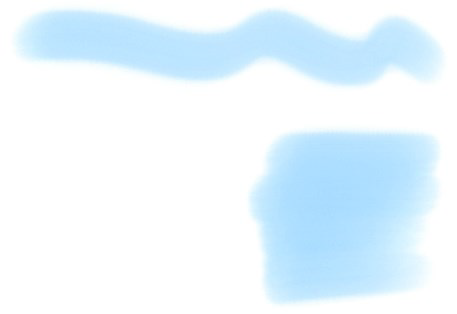
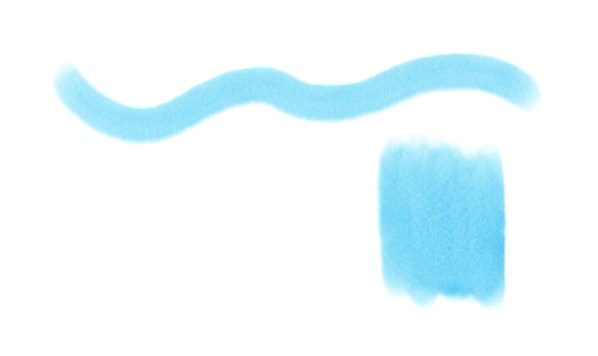
Brushstroke painted with the Real Oval Wash, and smooth wash area painted with three slightly overlapping strokes
Next, choose the Real Wet Flowmap Wash variant of Real Watercolor. As you did above, for the best quality brushstrokes, make sure that Accurate Diffusion is enabled in the Real Watercolor panel. Now make a practice stroke with this brush. The Real Wet Flowmap Wash picks up texture from the Flow Map that is chosen in the Flow Map panel(Window > Flow Map Panels > Flow Maps). You can see the texture especially in the edges of the strokes. The Real Watercolor panel has a setting where you can choose for the brush to recognize a flow map or a paper texture. As you did with the Real Oval Wash, paint an area of wash, by overlapping three vertical strokes.
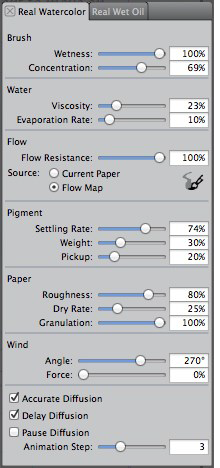
Left image: The Water panel showing settings for the Soft Bristle. Accurate Diffusion is enabled.Right image: Stroke painted with the Real Wet Flowmap Fringe (top), and a grainy wash painted with three slightly overlapping strokes
3. Painting transparent textured washes. If you are seeking rich watercolor texture, the Real Wet Jitter Sponge allows you to paint fascinating areas of transparent-sponged texture. Choose the Real Wet Jitter Sponge in the Brush Selector Bar. Begin by painting an expressive stroke, and then paint a textured wash area, by slightly overlapping strokes as you did in Step 2. Continue to experiment with these Real Watercolor brushes, painting expressive strokes and washes.
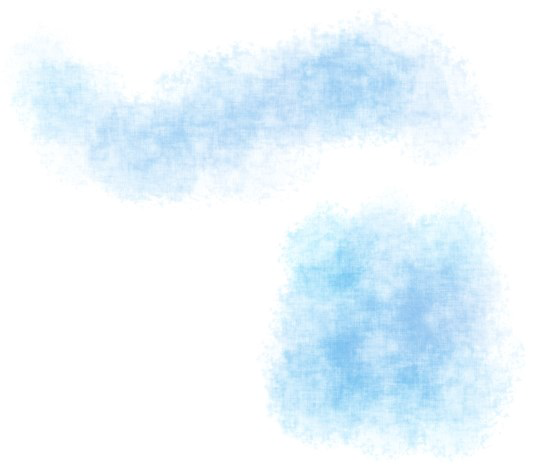
Stroke painted with the Real Wet Jitter Sponge, and a textured wash area painted with three overlapping strokes
Happy painting!

Was this article helpful?
Tell us how we can improve it.