Information
Please note that when a reset has been performed on the workspace, any workspace and palette customization will be removed.
Steps
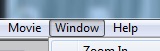
1. Open up Painter 12 - Go to the Windows menu
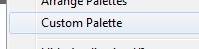
2. Select Custom Palette
3. Click on Add Command

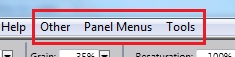
4. A new window will appear, on the Menu bar there will be three additional menus included.
Those menus are 'Other', 'Panel Menus', and the 'Tools'.
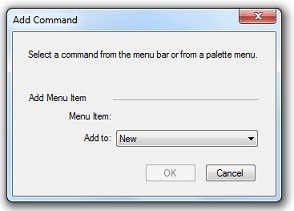
5. To add a menu item, select commands from the following three menus:
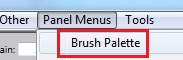
Click on Panel Menus
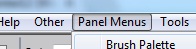
Select Brush Palette
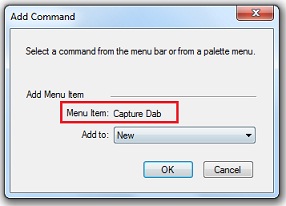
Select Capture Dab

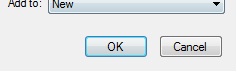
6. Once selected, the item will appear in the Menu Item bar. Press OK
Note: Any item may be selected from any menu to be made present on the current workspace.
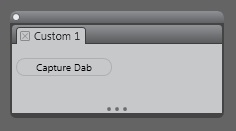
7. A new docker will appear
How To Modify a Palette
There are two ways of adding items to a custom panel.
Method 1
Hold down the Shift key and drag a button from one panel to the custom panel.
Method 2
Add a menu item: This procedure is the same as creating a new custom palette;
- Open Painter 12 and select the Window menu
- Select Custom Palette
- Next, select Add Command
- Choose the custom panel from the Add To list box
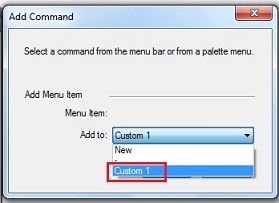
- With the Add Command dialog box open, choose a menu item
- Click OK
Note: You may also change the panel view from text to icon. To do so, you just need to right click on one of the items from the panel and then select View as Icon from the list. Remember to perform each step one-by-one to set the view as icons.
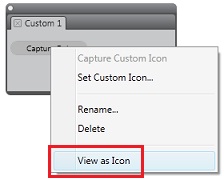
** To set your own icon for each Item, select Set Custom Icon, and then select the image and then click 'Open'
Was this article helpful?
Tell us how we can improve it.