

by Pratik Shah
Here's a quick step-by-step tutorial on how to use color styles in your logo designs.
Step 1
Click File > New to start a blank document in CorelDRAW Graphics Suite X6. In the Create a New Document dialog box, choose A4 from the Size list box, CMYK from the Primary color mode list box, and 300 dpi from the Rendering resolution list box (see Figure 1).
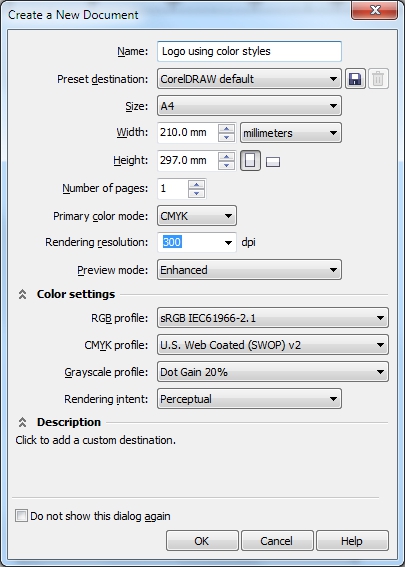
Figure 1
Step 2
In the toolbox, click the Ellipse tool (F7) and create a perfect circle by holding Ctrl key while dragging.
Step 3
Press and hold the Shift key, then drag one of the circle's corner handles toward the inside of the circle until the Scale factor on the property bar is approximately 85%, and then right-click once before releasing the mouse. This will create a copy of the smaller circle.
Step 4
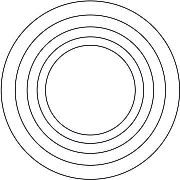
Press Ctrl+R three times to create three additional copies of the circle, each with a sequentially smaller size. So now we have five circles in total (see Figure 2).
Step 5
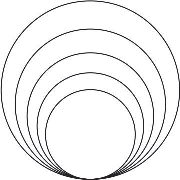
Press Ctrl+A to select all five circles, or use the Pick tool to marquee select them. Press B and then C to bottom center align all circles (see Figure 3).
Step 6
Click Tools > Color Styles to open the Color Styles docker (Ctrl+F6). Click the New color style button and choose New Color Style (see Figure 4). This will create a new color style. Use the Color Editor to adjust the CMYK values as follows: C = 100, M = 0, Y = 0, K = 0.

Step 7
Select the new cyan ColorStyle1 swatch, click the New color harmony button, and choose New Gradient (see Figure 5). In the New Gradient dialog box, click OK to accept the default values and settings (see Figure 6). This will create a gradient of five lighter shades of cyan (see Figure 7).
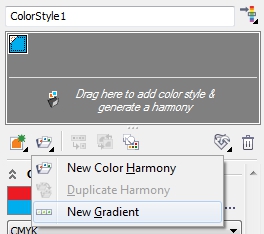
Figure 5
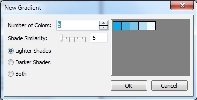
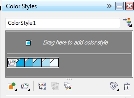
Figure 6 Figure 7
Step 8
Select the smallest, innermost circle. In the Color Styles docker, double-click the lightest shade of the cyan color gradient to fill the circle with that color. Select and then fill the other four circles each with an incrementally darker shade, working toward the outermost circle (see Figure 8).
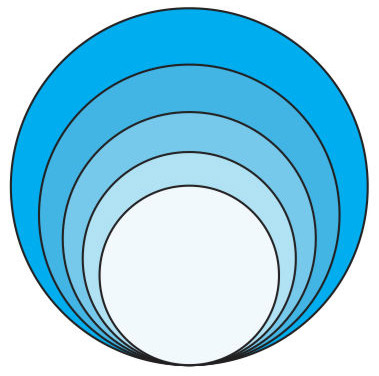
Figure 8
Step 9
Select all the circles and right-click the white color swatch on the Color palette to change the outline color. Optionally, you can use the Object Properties docker (Alt+Enter) to increase the outline Width to 3 or 4 points (see Figure 9).
Next, in the Color Styles docker, click the lightest shade of the cyan gradient. The value of this color is likely C = 4, M = 0, Y = 0, K = 0. Use the Color Editor to reduce the C value to 0, changing the lightest shade to white. The color in the circle will automatically update to reflect the change (see Figure 10).


Figure 9 Figure 10
Step 10
In the Color Styles docker, click the Harmony folder icon (situated to the left of the first gradient color swatch). This selects all the shades in the gradient and links them into a hue-based relationship.
Now, you can use the Harmony Editor to play around with the color gradient. Notice how the different color schemes are automatically reflected in the circles as you adjust any of the round handles in the Harmony Editor (see Figure 11).

Figure 11
Step 11
Alternatively, you can also change the alignments of the circles to get different looks. Select all the circles, and then press E and R, or E and L, or C and T to achieve different alignments (see Figures 12a, 12b, and 12c).


Figure 12a Figure 12b Figure 12c
Was this article helpful?
Tell us how we can improve it.