

Having custom stationery letterhead is essential for any business. With CorelDRAW, you can quickly and easily design your own and save a lot of money in the process.
1. To begin with, create a new document that is 8.5 inches in width and 11 inches tall. Set the primary color mode to CMYK.
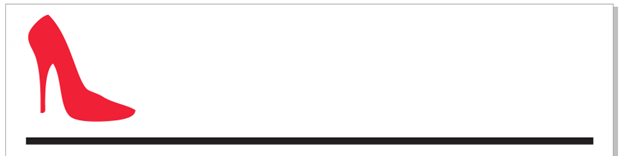
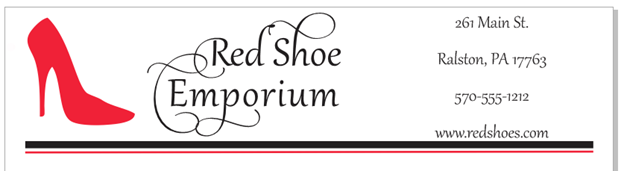
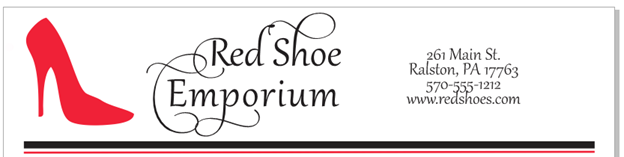
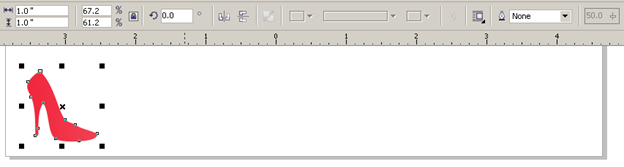
2. Import a clip art image of your logo. In this example, I will use this clipart image of a red shoe.

3. Place the clip art image on the upper left side of the document.

4. With the image selected, go into the Uniform Fill dialog box and select the Palettes tab.
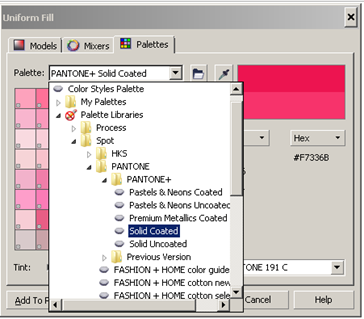
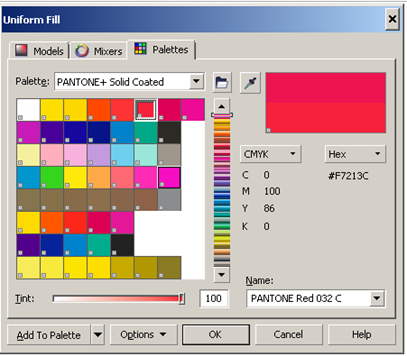
5. Under Palette select PANTONE solid coated. It will automatically select the corresponding PMS color. If you are satisfied with this, click OK.
6. Click on the Rectangle Tool and then create a 7.9 in. x .10 in. rectangle on the document. Set the Fillcolor to black.

7. Place the rectangle a inch below the clip art image.
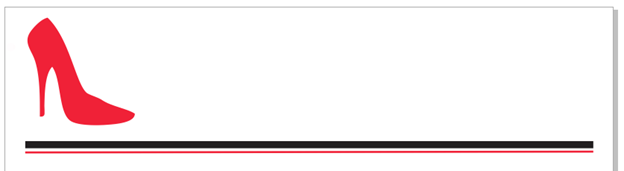
8. Click on the 2-point Line Tool and then create a 7.9 in. x .10 in. line on the document.
9. With the line still selected right-click on the PANTONE Red in the document palette and set the outline width to 2.0 pt.

10. Place the line directly below the rectangle.
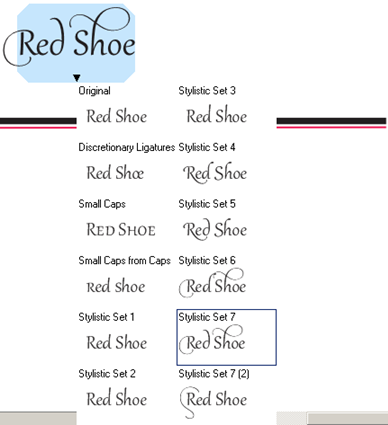
11. Click on the Text tool and type Red Shoe. For this tutorial, use the Gabriola font and set the size to 48 points. Move it beside the clip art image. Highlight the text, click on the indicator arrow below the text and select Stylistic Set 7 (this option is only available in CorelDraw X6; for other versions just leave the text as is).
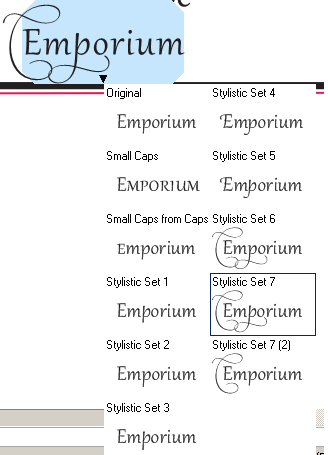
12. Click on the Text tool and type Emporium. Use the Gabriola font and set the size to 48 points. Place the text just below Red Shoe.
13. Highlight the text, click on the indicator arrow below the text and select Stylistic Set 7 (this option is only available in CorelDraw X6; for other versions just leave the text as is).
14. Click on the Text tool then click off the page and type:

15. Use the Gabriola font and set the size to 20 points, horizontal alignment to center and place the text on the right side of the rectangle. Position the text to the upper right side of the document.
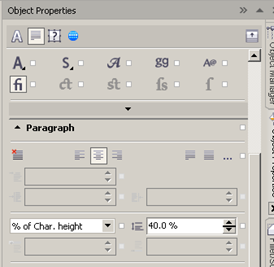
16. In the Object Properties Docker, set the line spacing to 40%.
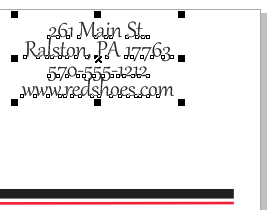
17. Move the text to align with both Red Shoe and Emporium.
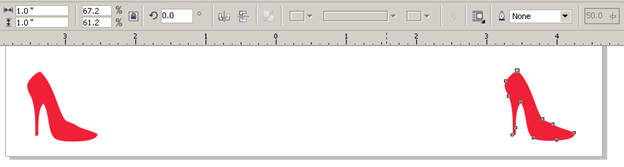
18. Select the clip art image and duplicate it by pressing Ctrl + D. Drag the image to the bottom left side of the document and resize the image to 1 inch by 1 inch.
19. Duplicate the clip art image once. 20. Move the duplicated object to the right side of the page.
21. Click and hold the PMS swatch on the document palette. You will notice that a fly out appears. Move your cursor along and select 10%.

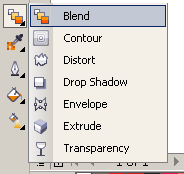
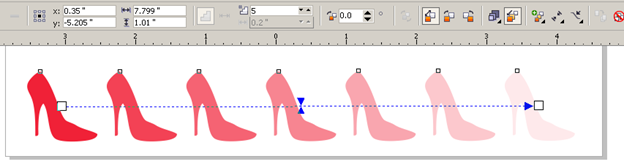
22. From the Interactive Tools fly out in the Toolbox, select the Blend tool and select the object on the right. Click and drag to the object on the left and release the mouse button.
23. On the Interactive Property bar, select the Blend Objects Control and reduce it from 20 to a suitable value.

Was this article helpful?
Tell us how we can improve it.