![]()
![]()

What You Will Learn
- How to create a postcard template
- How to use multiple pages
- How to work with Artistic and Paragraph Text
1. Start a new document in CorelDRAW and set the page size to 5 x 7 and set the primary color mode to RGB.
2. Double-click the rectangle tool to create a page frame around the page and give it a white fill.
3.Now, while holding down the CTRL key click on the light violet in the color palette 5 times. What this will do is add 10% of this color each time you click.
4.Next, import the customer logo.Now that you have the base image we can add the text to the front of the card.
5.Click on the Text tool,then click on the page and type "The Tousled Curl".
6. Change the font to Gabriola and set the size to 40 points. Change the color to Deep River and move it onto the page.
7. Highlight the text, click on the Indicator arrow below the text and select Stylistic Set 7 (this option is only available in CorelDraw X6; for other versions just leave the text as is).
8.With the text still selected, right-click on the Deep River color swatch to apply an outline. Position the text, centered to the right of the face, about half an inch from the top.
9. Click on the Text tool and type Hair Salon. Use the Gabriola font and set the size to 30 points. Change the color to Deep River and center it below the salon name.
10. Still using the Text tool, type Grand Opening and set the font to Times New Roman, 30 points and leave the color black.
11. Next, type the address and center it under the words "Grand Opening".

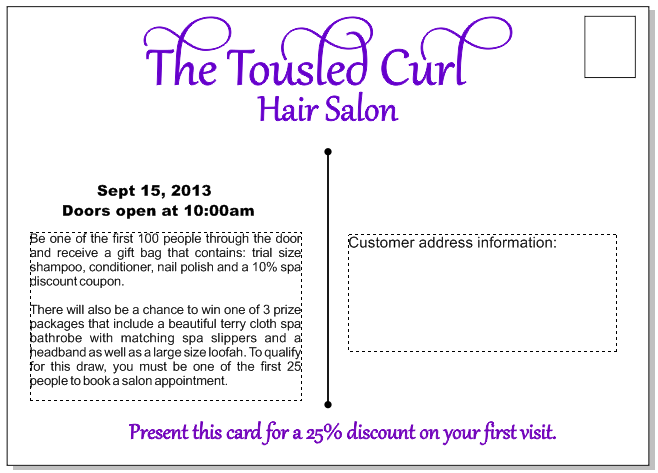
12. On the page navigation bar at the bottom of the screen, click the + to the left of the Page 1 tab. This will add a second page.

13. Double-click the Rectangle tool to create a page frame.Draw a .75 x 1 rectangle and place it in the upper right corner about .5 in from the right edge and .5 down from the top. This will be the area for the postage.
14. Draw a vertical line with the Freehand tool(F5), holding down the CTRL keyclick once and then move to the new position and click again will ensure that it is perfectly straight. Make sure that this line is 2.75long.
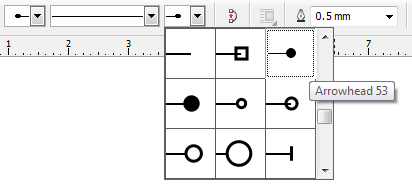
On the Interactive Property bar, change the line ends to small rounded ends.
15. With this line selected, hold down Shift, select the rectangle outline and press the letter C on your keyboard to center the line.
16. Go to page 1 and select the text The Tousled Curl and Hair Salon and copy it by clicking CTRL+C . Now, flip over to page 2, paste the text and center it above the line.
17. On the left side of the card, enter the date and time of the event and the information about the offer. To make the date and time stand out, set the font as Arial Black and make it 12 point and center justified.
18. Put one more line of text outlining the 25% discount and center it to the bottom of the post card; make that fontGabriola as well.The remainder of the text will be placed inside of a paragraph text box and centered to the date information.
The space on the right is where the customers' mailing information can go. This can be placed as a label or entered using Print Merge. For more information on how to use that feature, please visit our tutorial on "How to use Print Merge in CorelDRAW."
If you have enjoyed this tutorial, be sure to check out the other tutorials that are available in the Discovery Center. If you have any ideas for tutorials or projects that you would like to see in the future, please leave us some Feedback.
Was this article helpful?
Tell us how we can improve it.