Creating Calendars with CorelDRAW
This tip has been written for CorelDRAW® Graphics Suite X3. While similar features might be available in previous releases the tip will be fully applicable to CorelDRAW Graphics Suite X3 and newer versions only.
Did you know that CorelDRAW lets you quickly create calendars? With the Oberon Calendar Wizard, you can choose from 20 different layout styles and automatically generate multi-page calendars or single-page, year-at-a-glance calendars.
To personalize your calendars, you can add important dates and holidays, specify the calendar dimensions, and customize calendar elements. Some of the layout styles even include a placeholder for images. In addition, you can create calendars in different languages and for any year between 1583 and 4000!

With the help of the Oberon Calendar Wizard, this calendar was generated with a few clicks. The image, one of the stock photos included on CD 3 of CorelDRAW Graphics Suite X3, was added after the calendar was generated.

Another calendar sample
To create a calendar
1. Click Tools > Visual Basic > Play. The CorelDRAW X3 Visual Basic for Applications Macros dialog box is displayed.
2. From the Macros in list box, choose CalendarWizard (CalendarWizard.gms), and click Run. The Wizard is displayed.
3. In the Calendar date area at the top of the Wizard, choose a year from the Year list box, and do any of the following:
- To include all months of the year in your calendar, click All.
- To create calendars for one or several months, enable the check boxes for the corresponding months.
4. In the Calendar language area, choose a language from the Language box. If you want to add special dates and events, click Holidays. In the Define Holidays for {Language} dialog box, specify the month, date, and name of the special event or holiday in the Holiday Info area, and click Add/Modify.
One special event is added for January.
5. From the Layout box, choose a layout style.

You can choose from 20 different layout styles.
6. Click Expand to preview your calendar in a bigger preview window.
The expanded preview window
7. By default, the Oberon Calendar Wizard generates a calendar in the active project, based on the project's page size and orientation. If you want to customize the page size from within the Wizard, disable the Create Calendar in Current Document check box on the Page Layout page, and specify calendar dimensions, orientation, and margins.
To adjust the text size to the new page dimensions, click Adjust fonts.
The Page Layout page
8. Click Generate.
After you generate the calendar, you can spice it up in CorelDRAW by adding images, borders, and effects.
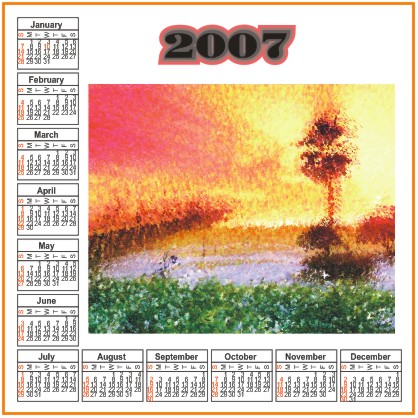
After this calendar was generated, three elements were added: the year, a colored border, and a stock photo with the Impressionist effect applied.
To customize calendar elements
You can customize the names of months and days of the week, remove borders, or change the background color. You can also hide or display moon phases and control the appearance of holiday text.
- Click one of the tabs to the right of the Page Layout tab, and choose settings on the customization page that appears.
The customization pages are context-sensitive — they change depending on the layout style you choose. The layout styles are associated with two or all of the following customization pages — Large: Header, Large: Body, Small: Header, and Small: Body. The header pages let you customize the names of months and weekdays; the body pages let you customize the appearance of dates or holiday text.
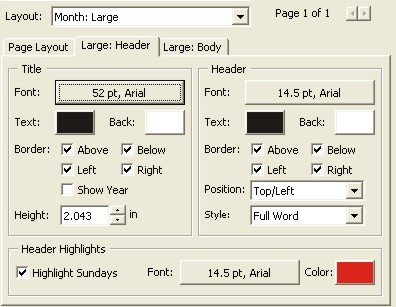
Let's look at the customization options available for the Month: Large layout style, which is associated with two pages — Large: Header and Large: Body. An image of the Large: Header page appears below. In the Title area, you can change the appearance of the month's name and change the color of the background. You can also remove the borders around the month's name and change the height of the box in which the month's name appears. The Header area controls the appearance and position of the days of the week, and the Header Highlights area controls the appearance of the Sunday header.
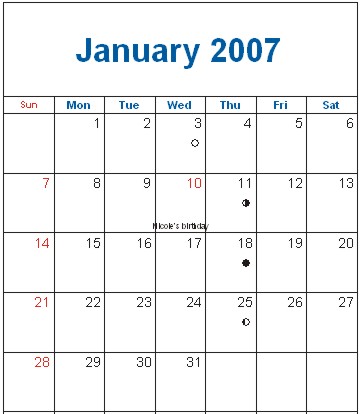
The example below shows a calendar that uses the Month: Large layout style. Using the controls on the Large: Header page, we changed the color of the months and days of the weekend to blue, and we displayed the year. However, our calendar has a small problem: the holiday text, "Nicole's birthday," does not fit within the box for January 10.
To fix the problem, let's switch to the Large: Body page, which includes controls for calendar elements such as dates and holiday text. In addition to decreasing the font size of holiday text, let's change the color of the dates to match the month, and then hide the moon phases to give the calendar a cleaner look.

Changes made on the Large: Body page are circled in red.
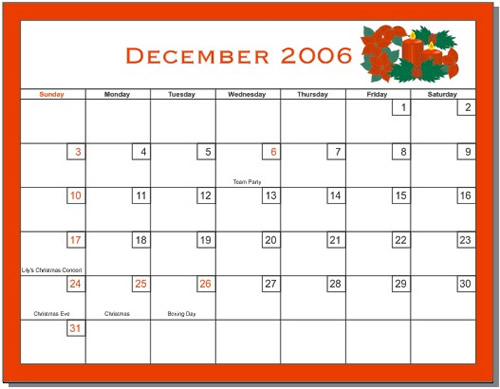
Here is another example of a calendar customized with the Oberon Calendar Wizard. We added special holidays, displayed the year, hid the moon phases, and added boxes around the dates. The clipart and red border were added after the calendar was generated.
To save a calendar style
The Oberon Calendar Wizard lets you save custom formatting settings as a calendar style for later use.
1. In the Oberon Calendar Wizard, click the Page Layout tab, and click the plus sign to the right of the Formatting Style box.

2. In the Save Calendar Style dialog box, type a name for your calendar style, and click OK.
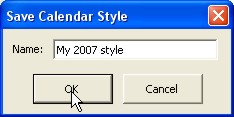
The Save Calendar Style dialog box
You can access your saved calendar styles from the Formatting Style list box.
Was this article helpful?
Tell us how we can improve it.