Click here for Part 1 of this article.
Applying multiple lenses
You can "stack" lenses on top of each other to create some amazing effects.
1. Open an image.
2. Click Object > Create > New Lens.
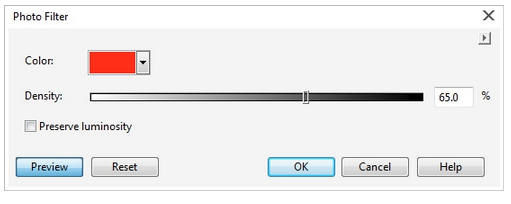
3. In the New Lens dialog box, choose Photo Filter and then click OK.


4. In the Photo Filter dialog box, use the Density slider to adjust color density, and click OK. You can also change the filter color by choosing a new swatch from the Color picker.
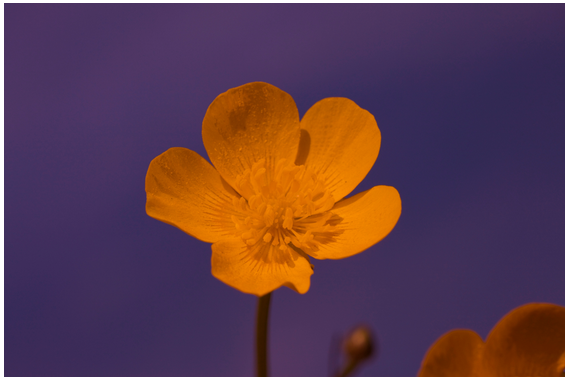
The lens now appears on its own layer in the Object Manager docker.

5. Repeat step 2. In the New Lens dialog box, choose Pixelate.
6. In the Pixelate dialog box, enable the Radial option, click the Point of Origin button in the Pixelate mode area, and click in the lower-left corner of the image window.
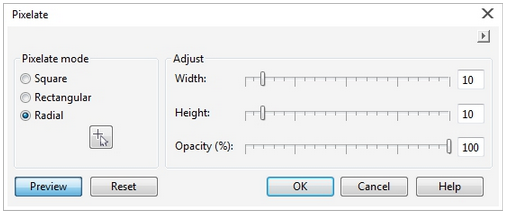
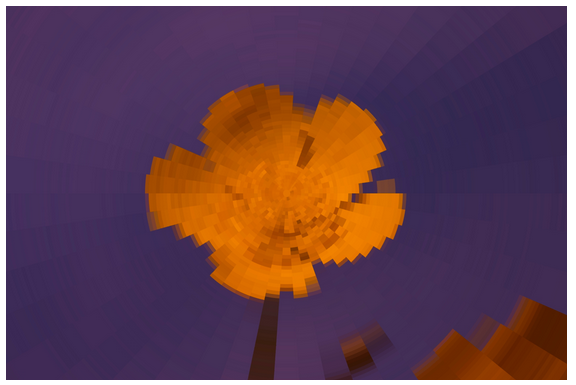
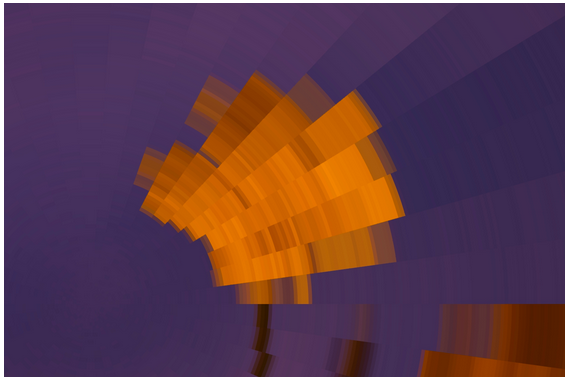
7. Adjust the Width, Height, and Opacity settings until you are satisfied with the effect, and then click OK.

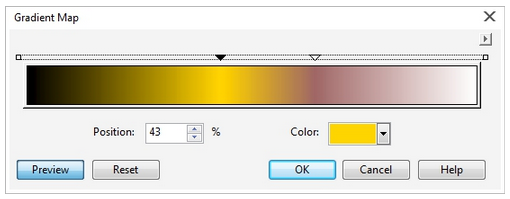
8. Repeat step 2 again. In the New Lens dialog box, choose Gradient Map. Refer to Part 1 of this tutorial for a refresher on how to adjust the Gradient Map settings.
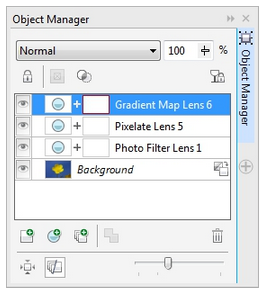
In the Object Manager docker, note that the three lenses are stacked one above the other on separate layers.
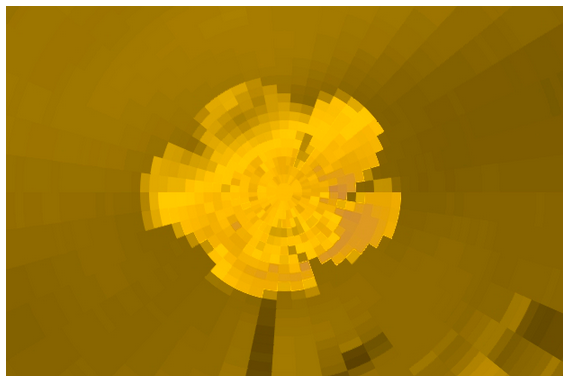
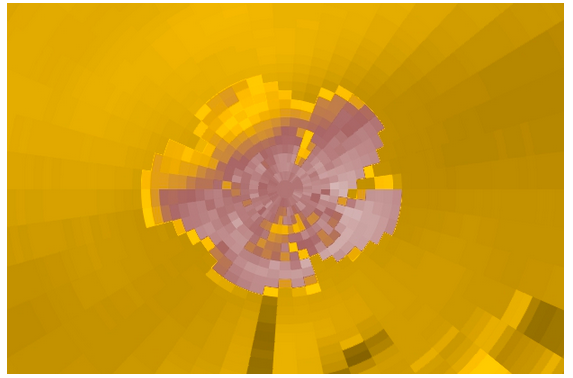
By mixing and matching multiple lenses, it is possible to create abstract and unexpected effects. For example, you can hide an individual lens layer by clicking the Hide/Show icon next to it. In this case, we can hide the Photo Filter lens to produce a new effect that resembles a negative of the image.
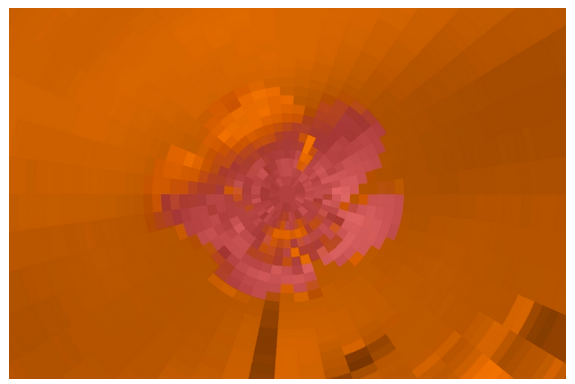
The stacking order of lens layers can also have a great impact on an effect. Here, the Gradient Map Lens layer has been dragged to the bottom of the stack, resulting in a dramatic effect.
Note: To discard an unwanted lens, simply select the lens layer, and click the Delete button in the lower-right corner of the Object Manager docker.
Working with effects
With Corel PHOTO-PAINT, there are various options for applying tonal and special effects to images. You can use the Effect tool to perform local color and tonal corrections.
When you select the Effect tool, the property bar gives you access to additional effect brushes, and each effect brush provides sub-categories of nib shapes.

In addition, when the Effect tool is active, the property bar provides various options specific to this tool. You can choose a round or square brush nib, adjust the nib size, specify the merge mode (which determines how color blends with underlying image elements), specify the intensity of the effect, adjust the transparency, and toggle anti-aliasing on or off.
If you apply effects to your image on a frequent basis, you may find it convenient to include the Effect Tools toolbar (Window > Toolbars > Effect Tools) in your Corel PHOTO-PAINT workspace. You can leave the Effect Tools toolbar floating in the workspace or drag it to a docking position.
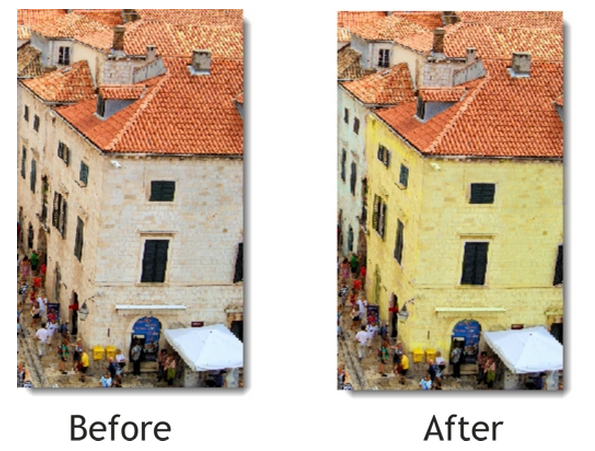
To apply an effect using an Effect brush
1. In the toolbox, click the Effect tool.
2. On the property bar, click Tint from the Brush list box, and choose Tint Lightly.
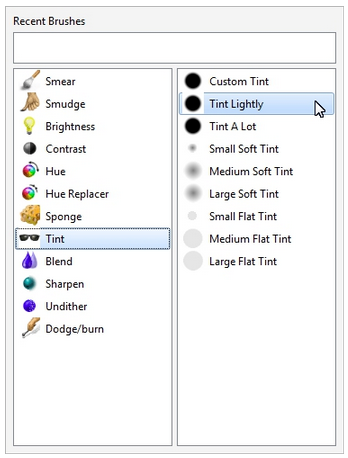
3. Choose a nib shape and size on the property bar.
4. Click a color swatch from the color palette, and start applying tint to the image.
Exploring the Effects menu
In addition to applying an effect to a specific area by using one of the Effect brushes, the Effects menu offers a wide range of effects that can be applied either to the whole image, or, to the editable area of a mask.
The following categories of special effects are available, each of which includes several different effects:
|
Applying an effect from the Effects menu
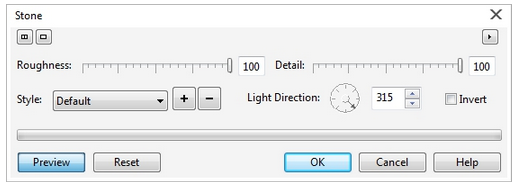
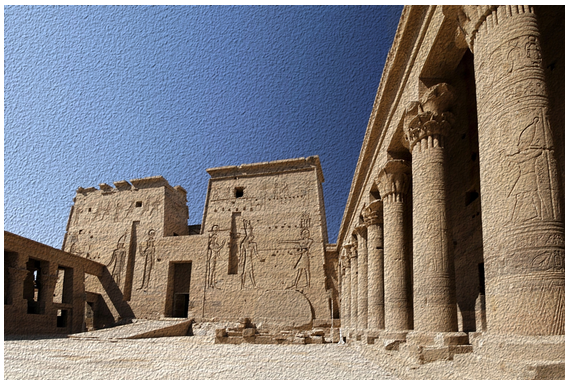
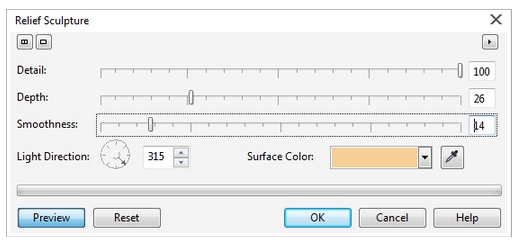
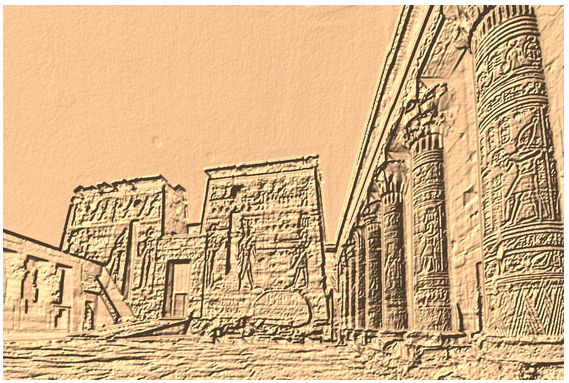
1. Click Effects > Texture, and then choose either Stone or Relief Sculpture.
2. In the dialog box, adjust the settings until you are satisfied with the effect, and then click OK.
Note: As with the lens effects, when you apply a mask to an image, any effects are applied within the editable area of the mask.
Was this article helpful?
Tell us how we can improve it.