
Setting up Multi-Image View Mode in Corel's AfterShot Pro will allow you to compare several versions of the original image. You can preview up to 6 versions of the same image.
Step 1 - Navigate to your Image files (RAW files, TIF or JPEG) through File System or Catalog
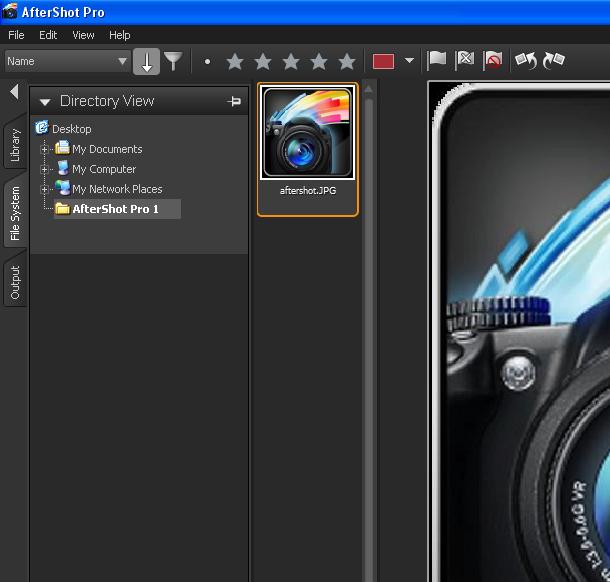
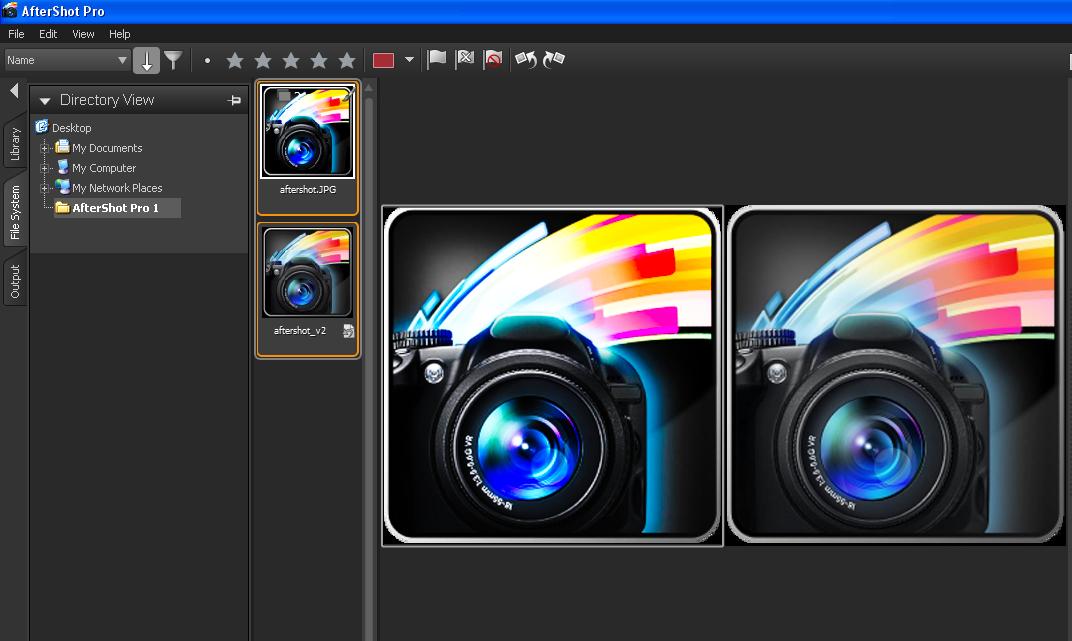
In this example, we're going to use the File System.

Step 2 - Click on the folder to preview images on the Thumbnail Panel
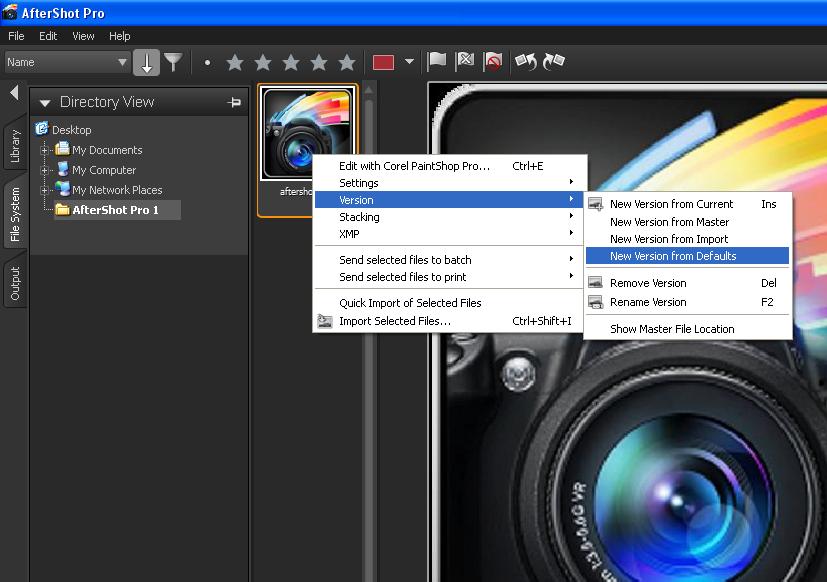
Step 3 - In the Thumbnail panel, right-click or Control-click the photo that you want to Edit (master version), and from the context menu, choose Version > New Version from Defaults.
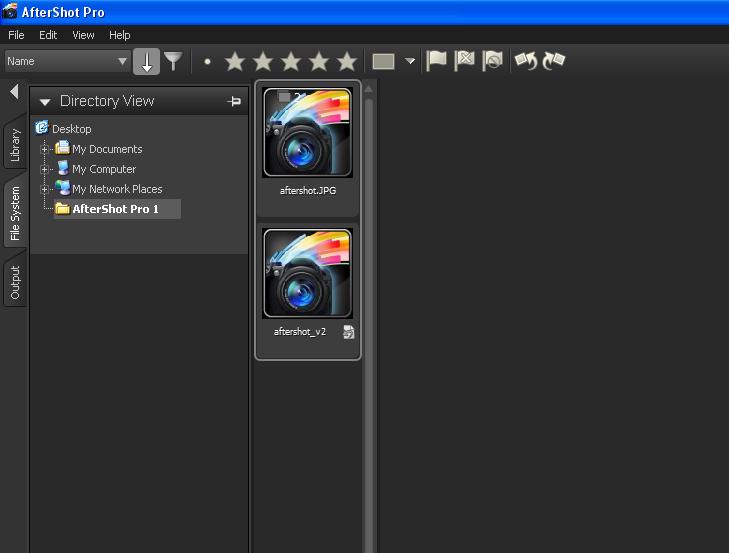
You now have a duplicate copy of your image within the program. A new thumbnail appears next to the thumbnail of the master version. By default, versions use the following naming convention: original file name + version number (_v2, _v3, ...).
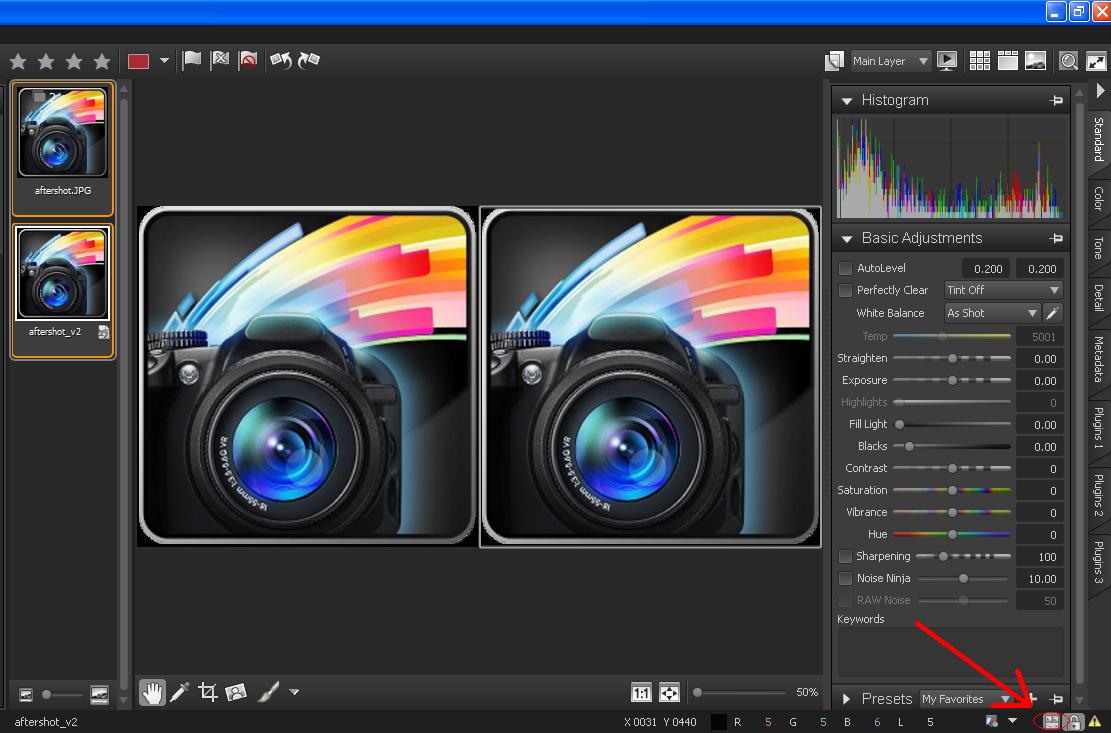
Step 4 - Highlight both Images, Hold Ctrl function on your keyboard and click each photo
Step 5 - Toggle Multi-View, In the lower-right corner of the application window, click the Multi-Image View button
Note: When Multi-Image View is enabled, many operations that normally operate on all selected versions operate only on the active version, including functions like adding, deleting, and renaming versions, applying ratings, labels, and flags with the toolbar buttons or shortcut keys, and pasting of image settings.
You may now Edit your photo (master version) without affecting the new version. This is best to use when comparing the original and edited photos.
Was this article helpful?
Tell us how we can improve it.