To add a watermark to an image in AfterShot Pro 3, follow the steps outlined below:
1. In the Tools panel on the right, click the Watermark tab to open the Watermark section.
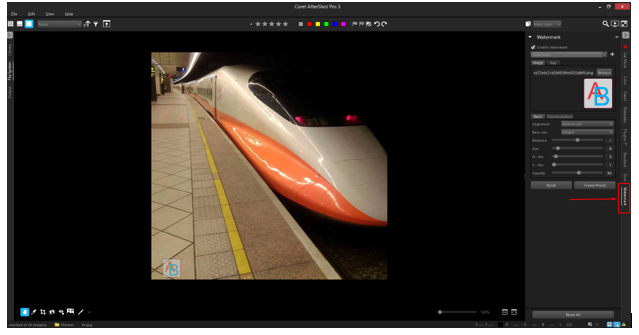
2. Mark the Enable Watermark check box.
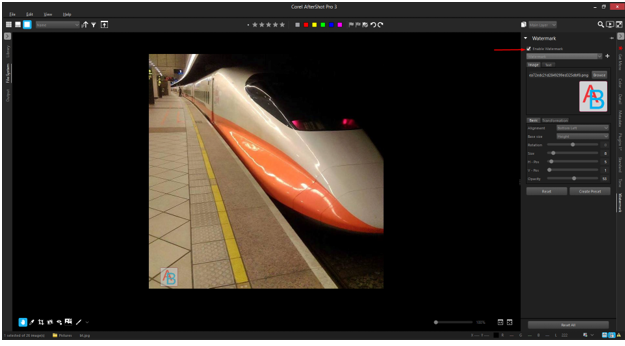
3. Choose one of the following:
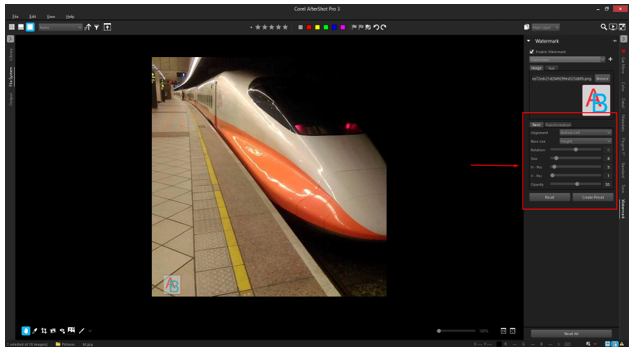
- To use an image, click Image, and click the Browse button to choose a PNG or SVG file (usually the file will be a logo with a transparent background). Adjust the settings you want on the Basic tab.
- To add text, click Text, and choose the settings you want on the Basic tab.
If you want to customize your watermark further, click the Transformation tab to skew, project, or stretch the watermark.
4. To save your watermark for future use, click the Save watermark button (plus sign) near the top of the Watermark section.
Tip: You can also use a JPEG for a watermark if you don’t have any transparent areas in your source image.
Note: Watermark feature is not available on AfterShot 3 Standard version (only on AfterShot Pro 3 version)
Was this article helpful?
Tell us how we can improve it.