
Windows 8 allows multiple users to share the same computer using different accounts. This allows each user to have their own location where they can store personal information such as documents, pictures, videos, and other files so that they are not mixed in with the files of other users on the same computer.
How to create a user account:
**Important: To create a new user in Windows, please make sure you are logged in with an account that has Administrator privileges.
Step 1:To start with, go to the Windows 8 Start Screen and type "Add User".
Step 2: When the search results appear click on the Settingscategory as shown from the image below.
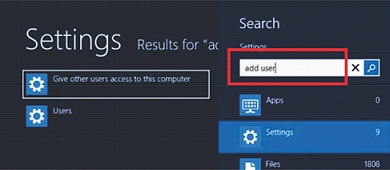
Step 3: Now click on the option labeled "Give other users access to this computer", which will open the User Settings screen.
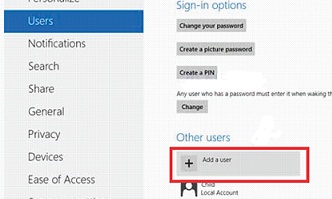
Step 4: Scroll down and click on the "Add User" option as shown below.
Step 5: You will now be at a screen prompting you to enter the user's email address.

**Note: The above screen will prompt you to enter an email to create a Microsoft account. However, you still have the choice to pass that screen without creating a Microsoft account. To do so, you need to select "Sign in without a Microsoft account".
You will be redirected to a screen where Windows will ask if you are sure to make a Local account. Click on the "Local account" button and this will bring you to a new screen wherein you are to input the information you wish to use for the account. You will also need to fill in the desired user name, password, and a hint that will be used to help you remember your password. When you are done filling in the information, please click on the "Next" button.
After performing the above steps, you will see a confirmation screen similar to the screen below, showing that your account has now been created.
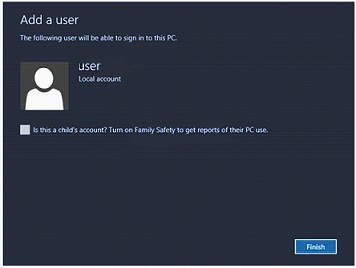
Step 6: You can select the Family Safety check box if the owner of the account is a child, if not, you can leave that check box unchecked, then click on the"Finish" button to exit the setup.
Was this article helpful?
Tell us how we can improve it.