Most performance issues that you will come across as you use your Roxio software, including crashes and freeze ups, would be mainly caused by conflicts with services and processes running in the background. To troubleshoot such issues, you would first want to disable these processes to see if your Roxio software would fare any better.
Note: This procedure is applicable to all Roxio products for Windows.
Why a clean boot?
A clean boot procedure can tell you if the problem you are experiencing with your Roxio software is due to these background processes running behind the scenes. This is made possible by the fact that the procedure disables the normal set of processes from loading on system startup. In the case of persistent crashing, for example, the clean boot can help eliminate “probable cause” or pave the way for problem isolation.
The System Configuration Utility
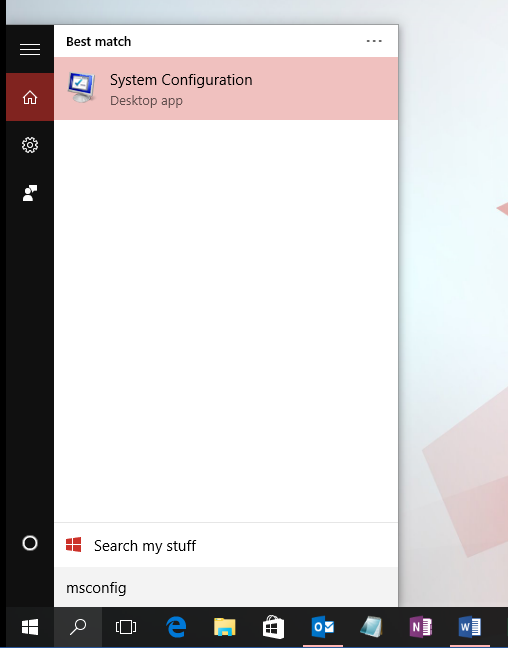
In order to perform the clean boot, you will need the System Configuration utility. Launch it by hitting the Windows logo key once, and then typing in “msconfig” (without the quotes). As soon as you start typing, you will see the characters entered in the Windows search box. In the System Configuration window, click on the Services tab to see a list of all services currently running on your system.
A clean boot is essentially disabling all system services that are not Microsoft services. To ensure you are not disabling a Microsoft service, place a checkmark in the box next to “Hide all Microsoft services”.

How to perform the clean boot
Part #1: Disable non-Microsoft services
Follow the steps below to disable all non-Microsoft services.
1. Sign in to the computer as an administrator. If you don't have an administrator account, you can create one. Create a local user or administrator account in Windows 10.
2. Launch the System Configuration utility using the steps explained previously.
3. On the Services tab of System Configuration, select Hide all Microsoft services, and then select Disable all.

Part #2: Leave the Roxio services enabled
After hiding all Microsoft services and clicking on the "Disable all" button, the Services list will now show that every item box has been unchecked.
For our purposes, you do not want everything unchecked--you will want to keep the Roxio services enabled. Otherwise, you might not be able to run critical components for your Roxio software. So scroll through the list and look for any item that starts with "Rox" or "Roxio"--this will be a Roxio service (example: RoxMediaDBVHS). Put a check mark back in the box to re-enable the Roxio service. Do the same for the rest of the Roxio services.

Part #3: Disable all Startup items
When you are done disabling all non-Microsoft services and re-enabling Roxio services, proceed to disabling all the startup items. Follow the steps below.
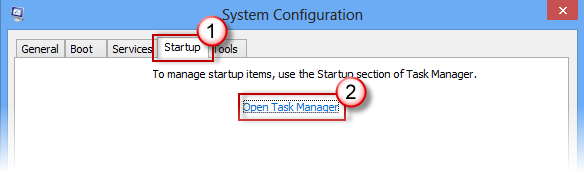
- On the Startup tab of System Configuration, select Open Task Manager.
- Under Startup in Task Manager, for each startup item, select the item and then select Disable.
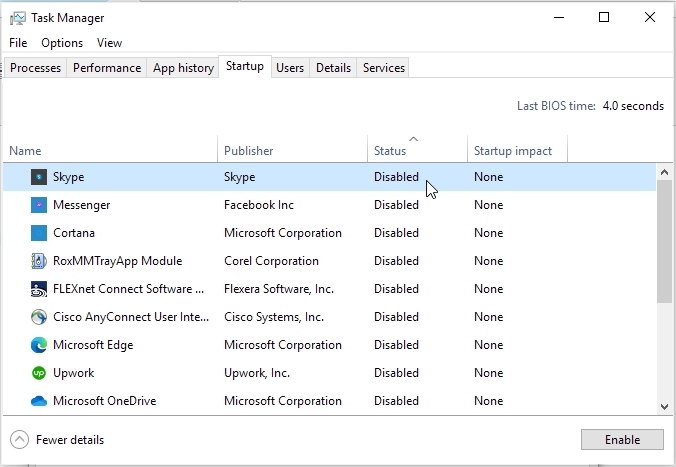
- Close Task Manager.
- On the Startup tab of System Configuration, select OK.
- Restart the computer.
When you restart the computer, it's in a clean boot environment. Your computer might temporarily lose some functionality while in a clean boot environment. Reset the computer to start normally after clean boot troubleshooting and resume functionality.
After performing the steps for a clean boot, make sure you go through the section "How to determine what is causing the problem after you do a clean boot", as this is what actually helps isolate which other program or application is causing a conflict with your Roxio program.
How to determine what is causing the problem after you do a clean boot
If your problem does not occur while the computer is in a clean boot environment, then you can determine which startup application or service is causing the problem by systematically turning them on or off and restarting the computer.
While turning on a single service or startup item and rebooting each time will eventually find the problematic service or application, the most efficient way to do this is to test half of them at a time, thus eliminating half of the items as the potential cause with each reboot of the computer. You can then repeat this process until you've isolated the problem.
Going back to Normal startup after troubleshooting
Once you are done troubleshooting, you need to revert to a Normal startup in order to restore full functionality of your system. Simply run the System Configuration utility again, click on the General tab, then select Normal startup.
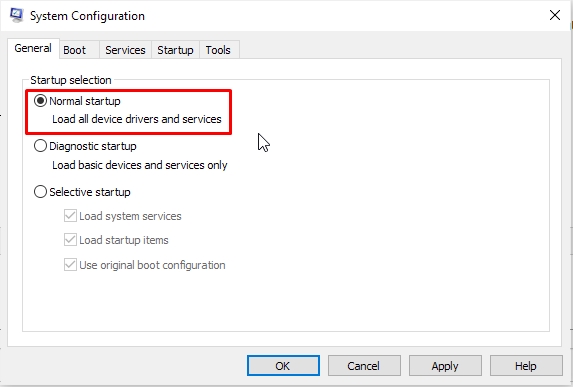
After selecting Normal startup, click OK and reboot.
Was this article helpful?
Tell us how we can improve it.