Green screen videos
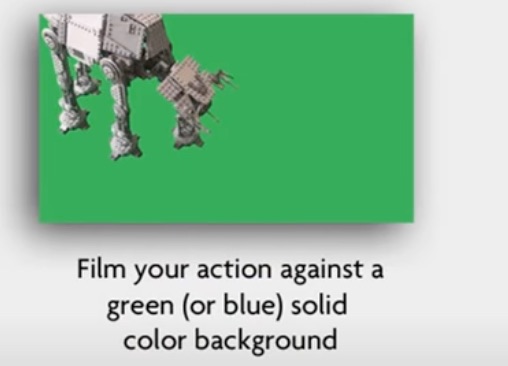
Simply put, green screen videos refer to videos shot against a solid green background. The green background (or in some cases, blue) will later be converted to a transparent area, so that it can be replaced with another video or image.

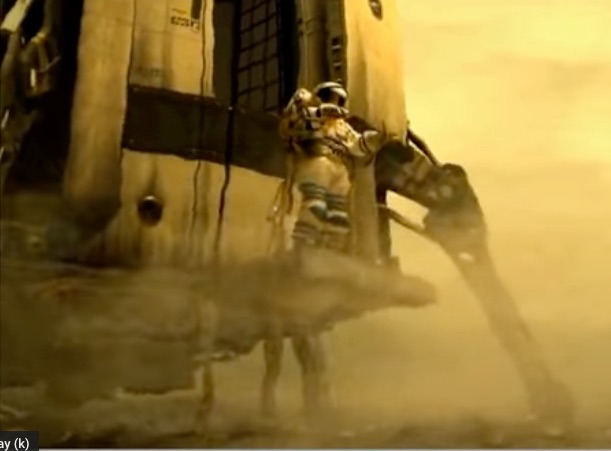
The end result being that the green screen video and background video (or image) would look like they were shot as a single video.
Chroma key
The process by which the green screen background is converted to a transparent area, essentially removing it from the scene for overlaying purposes, is called chroma keying. As mentioned previously, the chroma key color can be either green or blue, although most of the time it is green, since green pixels are more dominant in digital footage. Chroma key overlaying can turn your mundane video footages into creative cinematographic masterpieces.
Using the Chroma key feature in VideoWave
As you already know, you will need two things already on hand to create a green screen effect:
- A green screen video
- Background video footage or a static image
Once you have those two available, follow the steps below:
- Launch Creator NXT and click on Edit Video - Advanced under Video | Movies > Edit and Transfer
- When VideoWave starts, choose to create a new production;
- Select the production settings you prefer (such as "widescreen" or "normal" format) before proceeding to the next step;
Note: If you haven't been fully introduced and familiarized yet with the process of creating VideoWave productions and would like to learn more, please refer to this link;
- Under the Add Content panel on the left-hand side, click on the Add Photo/Video button to add your background video first;
- Next, import your green screen video as your overlay track using the same procedure;
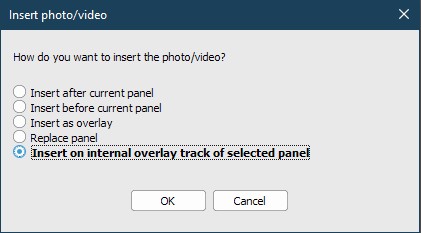
- You will be presented with several options this time. Select Insert on internal overlay track of selected panel;
- Now, double-click the overlay track and select the Chroma key item under Settings;
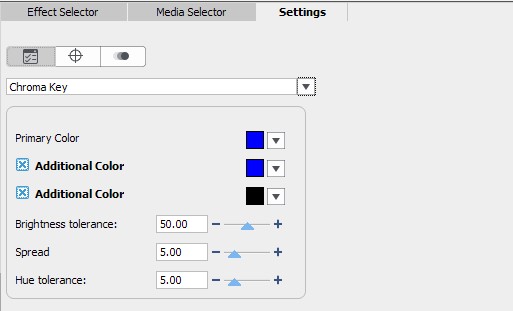
- Click the down arrow next to the Primary Color box and use the eyedropper tool to select the green screen area in your overlay video;
Note: You can use the two Additional Color boxes below that to select other background colors you would like to make transparent.
- Use the Brightness tolerance, Spread, and Hue tolerance tools to create a cleaner transparency effect.
At this point, your green screen overlay should now be completely transparent and replaced by your background video (or image). Preview the end result by pressing the play button located below the VideoWave preview screen.
You can find additional details about the Chroma key feature in VideoWave by clicking on this link.
A video tutorial for creating green screen video effects in VideoWave is also available here.
Was this article helpful?
Tell us how we can improve it.