Speak up! Your family and friends will be impressed to hear your Sinatra tones after this tutorial on how to add a voice over in VideoStudio.

If you're reading this, then it's time to add your voice-over, or narration to your project. Don't be nervous. Find a quiet room, prepare your script, and get crooning!
How you actually record your lovely voice depends on the type of project.
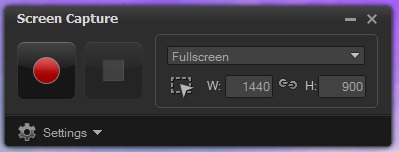
One way to capture audio is through Screen Capture in VideoStudio. In another tutorial we covered how to do screen recording inVideoStudio. You can actually record audio at the same time as a screen capture. Those options are available under the settings tab of the Screen Capture window.

But for this tutorial we'll go to the Edit workspace. You'll be able to apply the audio you record here to any project.
To start, open your project.

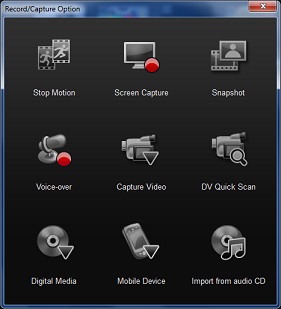
Navigate over to the Record/Capture icon and click it.
A window will pop up. Click on Voice Over.
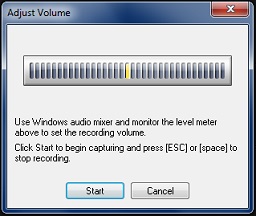
 Now, what'll appear on your screen is the Adjust Volume window. You don't want your voice to be too loud or too quiet. You want it to be just right.
You can test your volume, ensure your microphone is working properly, and verify that the program is able to capture the sound.
Now it's time to shine! All you need to do is navigate to the Start button and click it. Once you've finished, press your keyboard's escape or space key.
Immediately after recording your clip will be moved to the Voice Over track on the VideoStudio timeline.

And just like that, you've made your first recording!
But make sure your voice-over doesn't fly away. Be sure to save your project when you're done recording.
Thank you for reading this tutorial on how to do a voice over in Corel VideoStudio.
If you have enjoyed this tutorial, be sure to check out the other tutorials that are available in the Discovery Center. If you have any ideas for tutorials or projects that you would like to see in the future, please leave us some Feedback.
Was this article helpful?
Tell us how we can improve it.