


This tutorial will show you how to apply several special effects to your photos in PaintShop Pro. Adding special effects to photos is not only easy, but it's a fun way to experiment with altering your images.
You will learn how to:
- Use the Selective Focus tool to create a depth of field effect and increase saturation
- Apply Sepia Effects to give a flare of retro to an image
- Use the Time Machine effects
- Create a Vignette Frame three separate ways!
'Selective Focus:
Selective Focus is a great way to make part of an image stand out from the rest. This is also the tool of choice if you have been considering creating a desktop wallpaper from one of your photographs.
1. Open the image in PaintShop Pro and make sure that you are in the Edit Workspace.

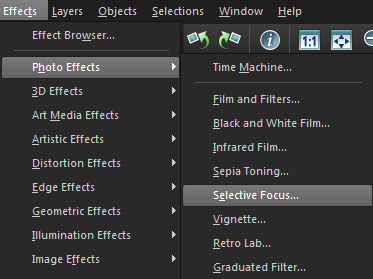
2. From the Effects menu select Photo Effects and then Selective Focus.
The Selective Focus tool is quite versatile, allowing you to select an area of an image to focus on using a linear, circular or freehand selection option.
In this example, we will use the circular selection tool as it allows you to adjust the shape to create an oval around the Ladybug.
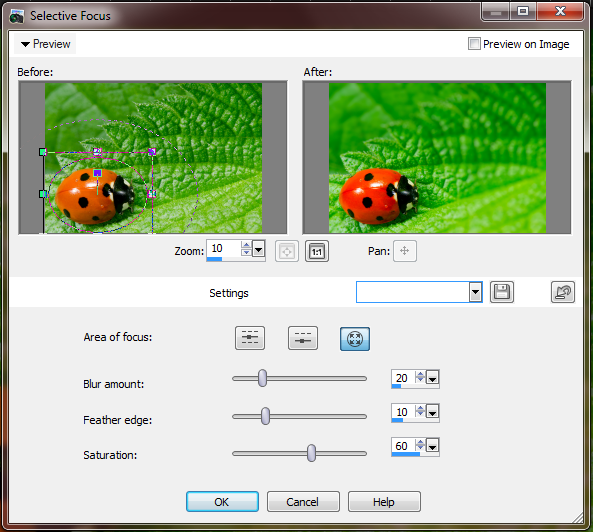
3. With the Preview on Image checked, changes made in the Selective Focus window can be seen on the image below.
4. You can increase the Blur tool to make the background as blurry as you like. By increasing the Feather Edge, you are creating a more gradual fade from the sharp portion of the image to the blurry portion; a large feather will create a smoother look.
5. Saturation is an option seen in many areas throughout PaintShop Pro and it is also available through the Selective Focus tool. If you do not wish to increase color saturation, set this value to 0. In this example, the saturation will be set to ""60"" to give the image a more vibrant appearance.
6. When the adjustments have been made, click OK. Depending on the system you're running, it may take a couple of seconds for the changes to be applied to the image.

Sepia Toning
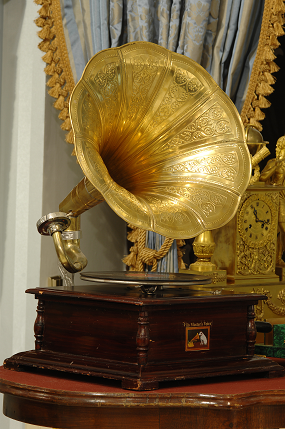
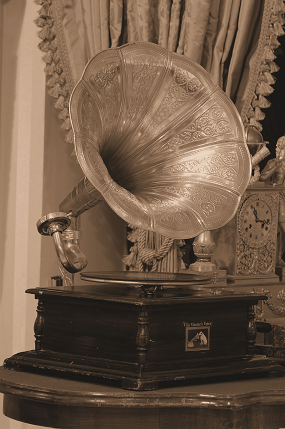
If you enjoy taking photos of antiquities or have a special image representative of history, such as photos taken at historical sites, museums or events, the Sepia effect can give these images that retro edge that will make them really stand out.
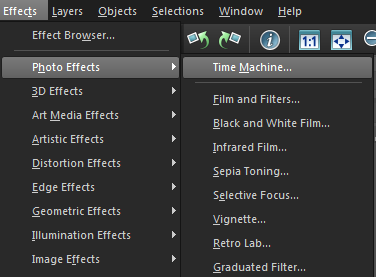
1. Click on Effects >Photo Effects> Sepia Toning.

2. Make sure that there is a check mark in Preview on Image.
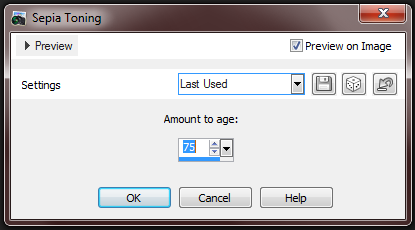
3. Adjustments available for Sepia range between 1 and 100. At the lower end of the scale is black and white, the higher end of the scale will add more copper to the appearance. In this example, we will use 75%.
4. When you have finished, click OK and the effect will be applied to the image.
Time Machine:
A similar effect, unique to PaintShop Pro is the Time Machine, which not only allows you to mimic photographic styles throughout the last two centuries, it also gives you a history lesson while you use it.
For this example, we will be using a photo representative of time to demonstrate these effects.

1. For the Time Machine effect, go to Effects > Photo Effects > Time Machine.
2. When the Time Machine window opens you will be able to see a range of photographic styles from 1839 till 1960 and seven examples of how your photo would look if it were processed using these various techniques throughout the ages. As you click on each thumbnail, the name will appear below, followed by a brief description of the period when the processing was used and how the development processes took place. With Preview on Image selected, you can see the changes take place on your image as you click on each thumbnail.
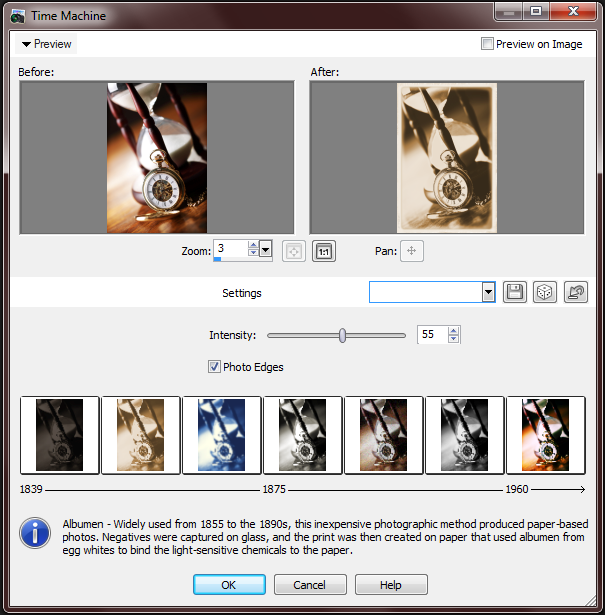
Photo edges are meant to represent the styles of paper commonly used with each processing style and you can choose to turn these edges on or off. In this example they will be left on.
3. When you have made your selection, click OK to continue.

Vignette Frame:
There are three quick and easy ways to create a Vignette Frame around your image and which is the best way is simply a matter of personal preference.
Method 1: Delete the outside portion of the image, leaving behind the frame.
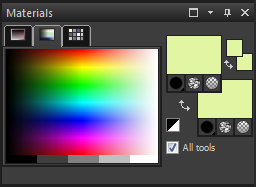
1. Select a background color from the Materials Palette
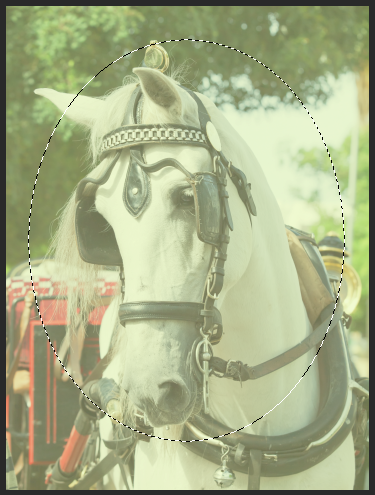
2. Choose the Selection tool from the Standard toolbar.
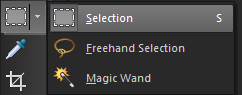
3. In the Interactive Properties toolbar, select Ellipse from the Selection types and set the feather to 50.

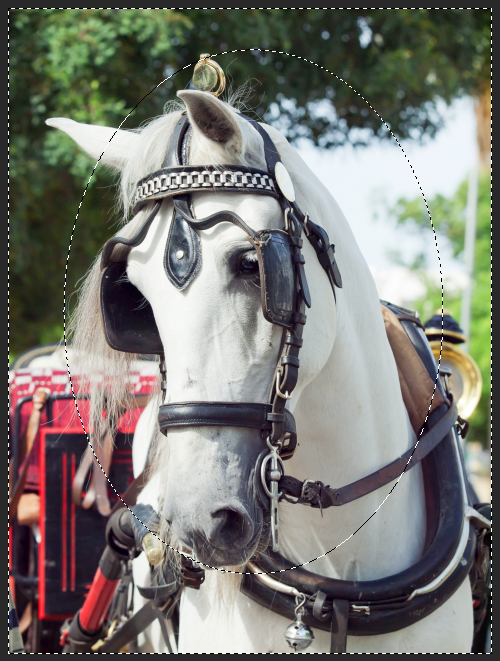
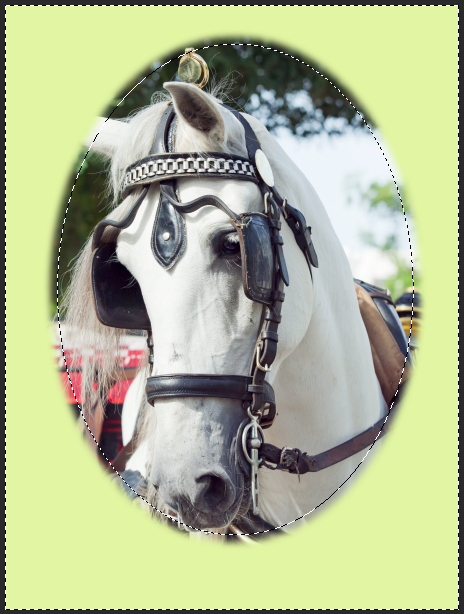
4. Draw an ellipse around the area of the image you wish to frame.
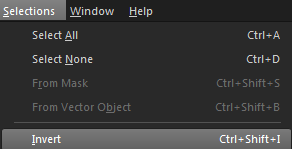
5. Go to Selections and then Invert Selection.
6. Hit the Delete key on your keyboard. This will replace the selected area with the background color you have chosen from the mixer.
Method 2: Create a new layer which will serve as the frame and then remove the center portion to show the image behind it.
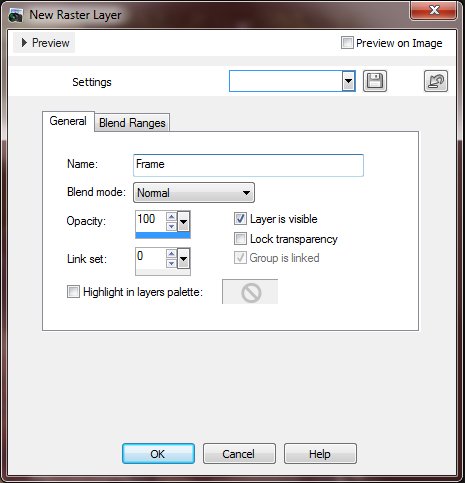
1. Go to Layers and select Create New Raster Layer.

2. Give the layer a name and click OK.
You will see the new layer appear in the Layers palette on the right side of your screen. If you do not see it, click the F8 key on your keyboard to view this palette.
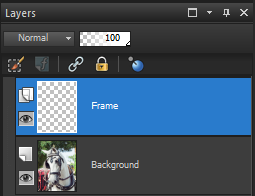
3. From the Standard Toolbar, select the Flood Fill tool and click on the image.

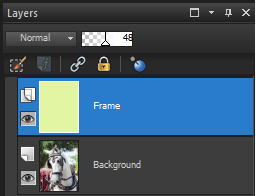
4. To see the image better so that you can be sure to cut out the correct portion of the frame, you can adjust the opacity of the layer at the top of the Layers palette.
5. Choose the Selection tool from the Standard Toolbar. Once again, make sure that Ellipse has been chosen from the Selection Type in the Interactive Properties ba'r.
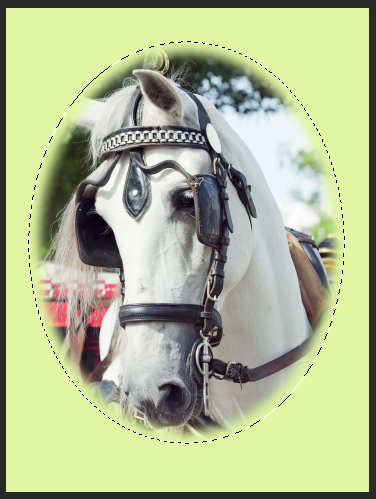
In this example we will set the feather to 100 so as to make more of a gradual fade around the inside edges.
6. Hit the Delete key on your keyboard.
7. Now you can increase the opacity of your frame, either partially so that some of the image shows through, or all the way back to 100% (full opacity).

Method 3: Use the pre-made picture frame, ""Antique Vignette""
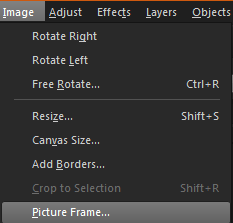
1. Click on Picture Frames under the Image menu.
2. After you have selected the frame, you have the option to choose to frame just that layer, the entire project, place the frame inside the image, or outside the image (which will include a border). The frame can also be flipped, mirrored or rotated. For the purposes of this example, we will leave the settings to frame the entire canvas, outside the image, and rotate to the right.
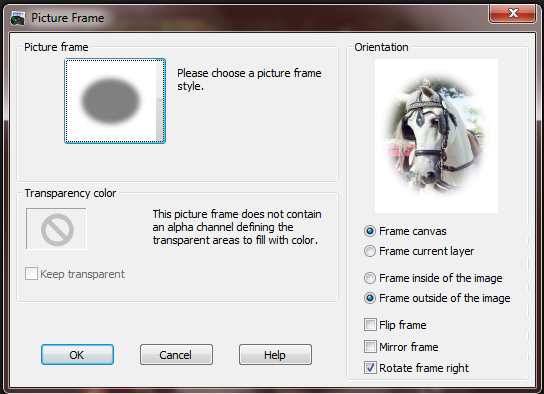
3. When you have finished choosing the settings, click OK and the frame will appear as a new layer, titled ""Picture Frame"" in the Layers Palette.

Like the previous example, this frame is a layer on top of the image, the opacity can be altered so as to show part of the image through the frame. One drawback to this method is that the color of the frame cannot be changed. However, the benefit is that it is quick and consistent from one image to the next; so if you are planning on creating an album of multiple photos which will all have a vignette frame, using a Picture Frame is the ideal choice. Another note is that this particular frame is pure white so when the final image is complete it will give the illusion of a transparent background if used on stationary, plain labels or on a web site with a white background (as shown above).
If you have enjoyed this tutorial, be sure to check out the other tutorials that are available in the Discovery Center. If you have any ideas for tutorials or projects that you would like to see in the future, please leave us some Feedback.
'
Was this article helpful?
Tell us how we can improve it.