

You will learn how to:
- Use the Object Remover tool to remove an object from an image.
- Use the Smart Carver tool to cut out a section of an image.
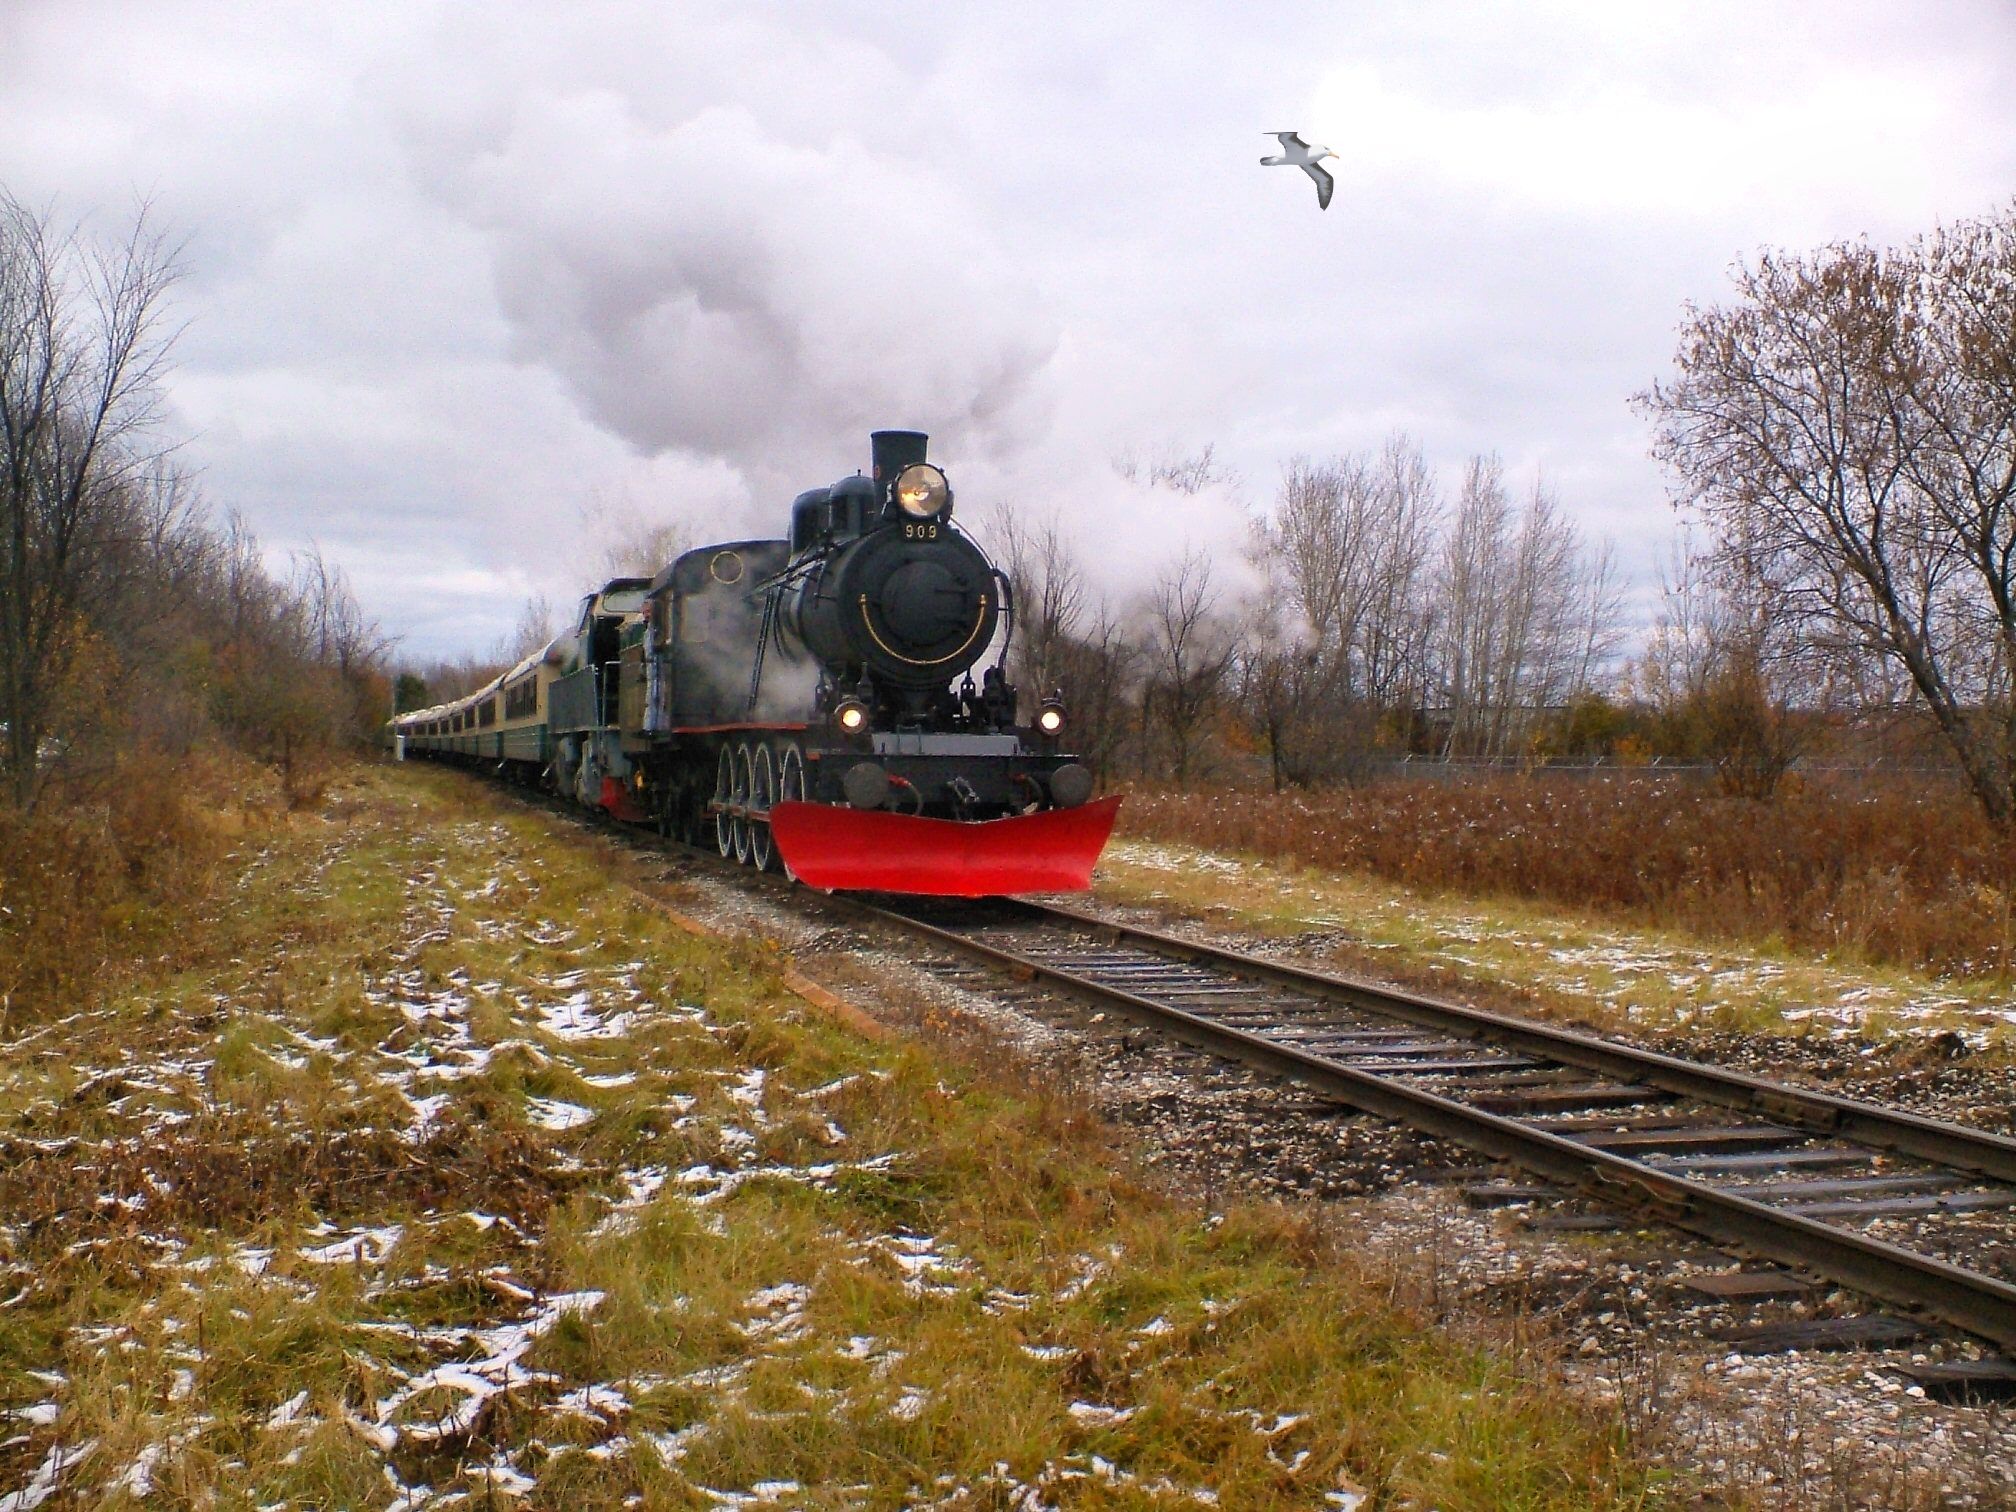
The Object Remover tool is a quick and easy way to remove distractions or undesirable objects from otherwise clear skies, water or other uniform areas.
In this example, we will remove the seagull from the sky in this photo.

2. Next, click on the arrow beside the Clone tool to expand the menu.
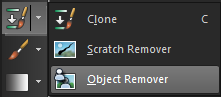
3. Select the Object Remover tool.
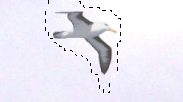
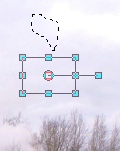
4. Drag around area you want to remove
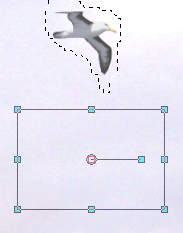
5. On the Tool Options palette, click the Source mode button.

Position the rectangle over a sample area that will replace the unwanted part.
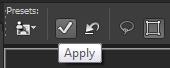
6. Next, click Apply button.
7. Right-click to de-select the area.
It's just that easy to remove a distraction or unwanted portion of an image using the Object Remover tool in Corel PaintShop Pro.

Another method of removing objects in PaintShop Pro is with the Smart Carver tool.

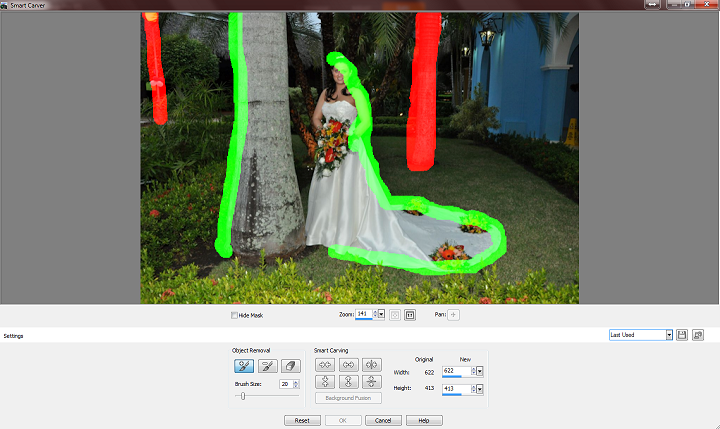
In this example, we will remove one of the trees and the balloons from this image because they're distracting and we want the focus to be on the bride rather than the background.
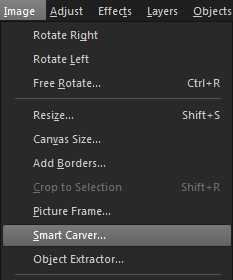
1. To do this, go to the Image menu and click on Smart Carver.
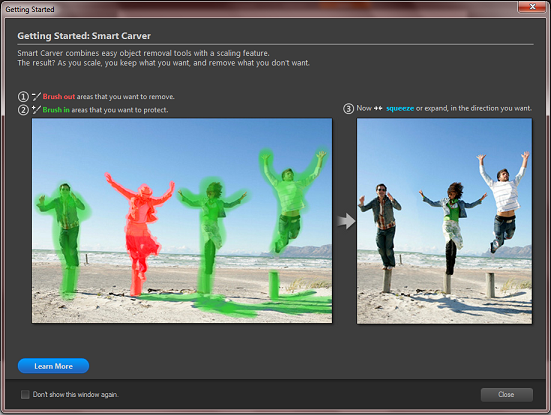
If you're using this tool for the first time you may have a Corel Guide pop up screen which explains the purpose of the tool. Simply close this window to continue.
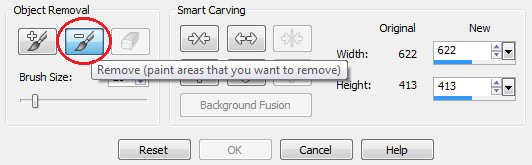
2. Select the Remove brush, set the brush size and brush over the area you wish to remove.
3. Next, select the Preserve brush and paint around the areas you want to remain intact.
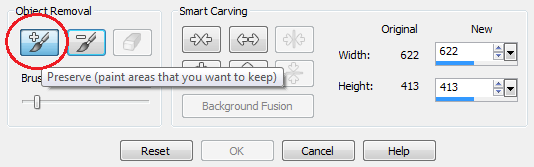
4. You don't have to cover the entire image with the preservation brush, just outline the objects you want to keep safe from alteration.
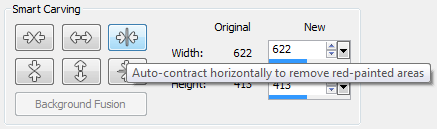
5. Click the Auto-contract Horizontally button and then click OK.
Now the image is perfect and nobody will ever know that there were distractions there in the first place.

If you have enjoyed this tutorial, be sure to check out the other tutorials that are available in the Discovery Center. If you have any ideas for tutorials or projects that you would like to see in the future, please leave us some Feedback.
Attachements
Was this article helpful?
Tell us how we can improve it.