Giving credit to the people or cast of your production is one of the key tasks that you would not want to skimp on if you want to give your movie that professional look. Adding a rolling movie credits effect to your VideoWave production can be accomplished in a few very simple steps. Once you have decided who and what to include in your credit roll, proceed to the next section to learn how to present them in VideoWave.
What you need to do:
- Add a color panel
- Add the "basic credits" text effect
- Adjust settings
- Duplicate the text effect element
Add a color panel
The first step to creating a credit roll is to set the background frame to which it will roll against. We refer to this as the color panel. Of course, you can have the credits roll up (or down) while your movie is still playing, but that is not applicable in every situation, especially if you are doing an ending credit roll.
To add a color panel to your production, follow these steps:
- Click on the "Timeline" tab of the production editor. Doing your credit roll in Timeline view will be much easier than working in Storyline view
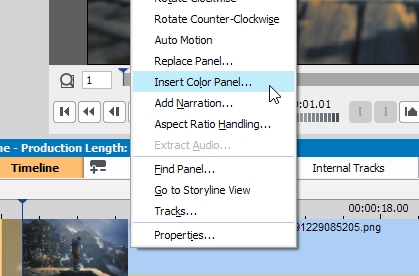
- In the Video track, right-click on your movie. If you have multiple video clips, right-click on the very first or very last clip (depending on whether this will be a starting or ending credit roll)
- On the pop-up menu, select "Insert Color Panel..."
- Select your desired background color from the color palette window that comes up, then click OK
- Now that you have your color panel, proceed to the next section.
Add the "basic credits" text effect
You will have a lot of flexibility in selecting and applying a rolling text effect here. Simply select any text effect and adjust its movement setting to either scroll up or scroll down, or a choice of other movements, for that matter. Proceed to the next section to learn about the different settings you can apply to your text effect.
But if you want a working credit roll right off the bat, follow these steps:
- Click on the "Add Text Effect" item from the Add Content task pane on the left-hand side of the VideoWave preview window
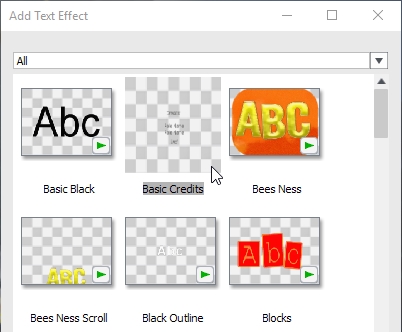
- From the "Add Text Effect" window that comes up, click on the "Basic Credits" thumbnail. You will see a video preview of the effect. Click OK to add it to your production.
- An "Add text effect" dialog box will come up asking if you want to "add to your production" or "insert on internal text track of selected panel". *Select the former.
- Click the OK button in the dialog box to complete this procedure.
The text effect element will be added to the Text 1 track in the timeline. You now have your first credit roll text effect paired with your color panel. You can give your credit roll text effect more punch by adjusting its settings. Proceed to the next section to learn how.
*Selecting the latter, or "insert on internal track of selected panel", will make the text effect element a part of the color panel. So when you move the panel to a different location anywhere on the timeline, the text effect element goes with it.
Adjust settings
As mentioned previously, you can make your credit rolls more "catchy" by adjust its settings to make it stand out.
To change the text motion, follow these steps:
- Click on your text effect element on the Text 1 track to select it
- Select the "Show Settings" item from the Tools task pane on the left-hand side. This activates the Settings dock on the right-hand side of the preview window
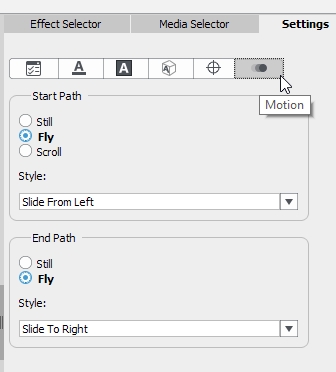
- Click on the Motion tab on the far right to see a choice of start and end paths, and styles for the text effect
Note: A string of rolling credits would use "scroll" for the start path and no end path. *Different styles are available from the drop-down menu. - To change the motion of your credit roll, select "Still" or "Fly", then select a style from the drop-down menu.
To edit the content of the text effect element, follow these steps:
- Click on the scrubber head on the timeline and slide it to the center of the text effect element, so that you see the actual text.
- Click on the text appearing in the preview window to reveal the text box
- Select the text to **highlight and enter your own
- With the text still selected, you can change the appearance of the text characters themselves by adjusting the different parameters available in the different ***tabs of the Settings dock
- When you are done editing the content, click anywhere outside the text box to save the changes made.
You can add additional text effect elements for your credit roll to make it easier to manage by duplicating the original element. To do this, proceed to the next section.
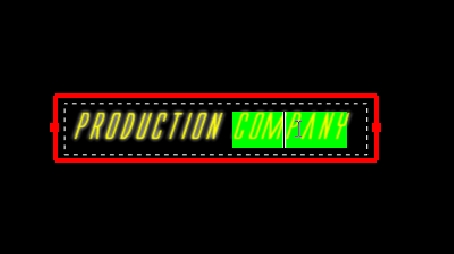
*You don't have to stick to the conventional credit roll effect, though. You can make your credits slide briskly from the left-hand side of the color panel, stop in the middle for a few seconds, then disappear on the right-hand side, reminiscent of those light-hearted or feel good movies.
**Highlighting the text is a little tricky if this is your first time doing it, as it will move the text box to a different position if you don't do it right. To avoid this, simply double-click to select a word, then double-click again to select the entire string or sentence.
***The available tabs in the Settings dock are "Main", "Color", "Frame", "3-D", "Position", and of course you already know "Motion".
Duplicate the text effect element
You wouldn't want to repeat all the above steps again just to add a second (or a third, or fourth, ad infinitum) text effect element. Of course, no one would be stopping you if you really, really want to do it. But if you would rather save time, just create a duplicate element and then change the content and settings later.
To duplicate your text effect element, follow these steps:
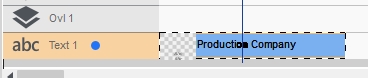
- In the Text 1 track, select your text effect element. You'll know it is selected when it gets the dashed-line outline
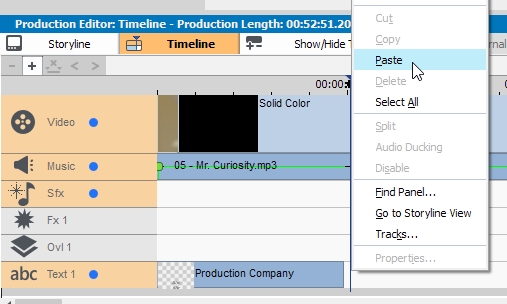
- Right-click on the element and select "Copy" from the pop-up menu
- Right-click on a spot on the Text 1 track where you would like to position the duplicate element and select "Paste"
- Repeat this procedure to make further duplicates. Follow the same steps under the "Adjust Settings" section above to customize the text effect element according to your needs.
That's about it! Now you know how to create a set of rolling (or flying, or sliding) movie text credits for your VideoWave production.
Was this article helpful?
Tell us how we can improve it.