**You must be an administrator of your Mac to perform these tasks.**
Add a user
-
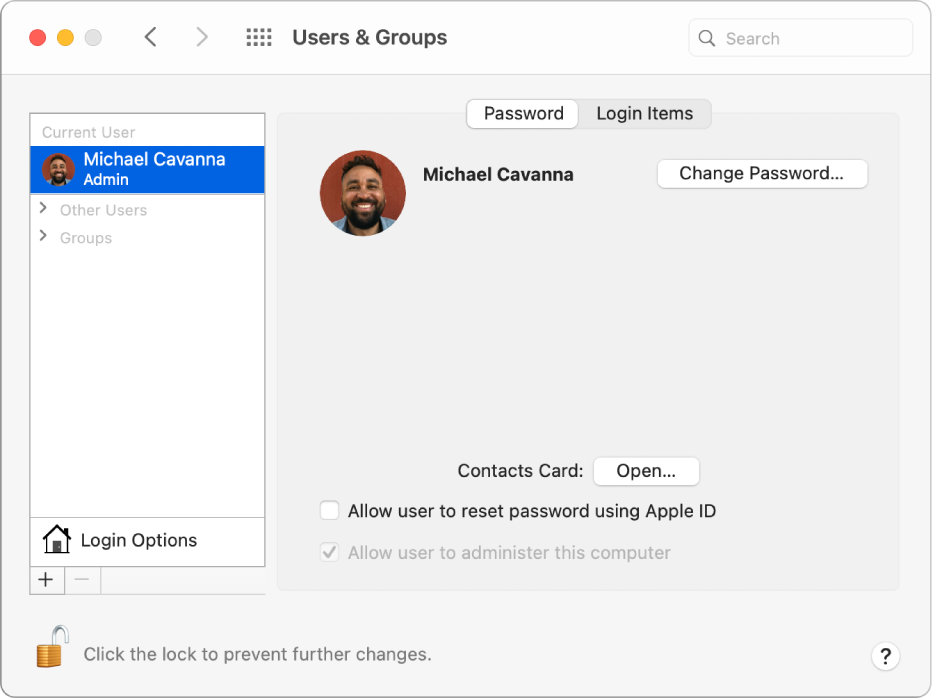
On your Mac, choose Apple menu
 > System Preferences, then click Users & Groups
  .
.
If the lock at the bottom left is locked
 , click it to unlock the preference pane.
 -
Click the Add button
 below the list of users.
 -
Click the New Account pop-up menu, then choose a type of user.
-
Administrator: An administrator can add and manage other users, install apps, and change settings. The new user you create when you first set up your Mac is an administrator. Your Mac can have multiple administrators. You can create new ones, and convert standard users to administrators. Don’t set up automatic login for an administrator. If you do, someone could simply restart your Mac and gain access with administrator privileges. To keep your Mac secure, don’t share administrator names and passwords.
-
Standard: Standard users are set up by an administrator. Standard users can install apps and change their own settings, but can’t add other users or change other users’ settings.
-
Sharing Only: Sharing-only users can access shared files remotely, but can’t log in to or change settings on the computer. To give the user permission to access your shared files or screen, you may need to change settings in the File Sharing, Screen Sharing, or Remote Management pane of Sharing preferences. See Set up file sharing and Share the screen of another Mac.
For more information about the options for each type of user, click the Help button in the lower-left corner of the dialog.
-
-
Enter a full name for the new user. An account name is generated automatically. To use a different account name, enter it now—you can’t change it later.
-
Enter a password for the user, then enter it again to verify. Enter a password hint to help the user remember their password.
-
Click Create User.
Was this article helpful?
Tell us how we can improve it.